
When it comes to the renovation world, hard finishes are arguably the most important part of the project! Hard finishes or fixed materials, are the permanent parts of a home; flooring, countertops, cabinets, tiles, paint and light fixtures. These are the aspects of a reno that are going be the foundation (pun intended!) to bring your whole design vision to life! Hard finishes are also very hard to change once installed… if you hate the bathtub tiles once you see them on the wall and grouted, it is going to be costly and add time to your project to change them. Not an issue you want to deal with! And since we’ve had our share of hard finishing learning lessons (that’s going to be its own post!!) we want to share what we’ve learned to have this process go as smoothly as possible! These are our tips or Haus Rules on how to best shop for hard finishes!

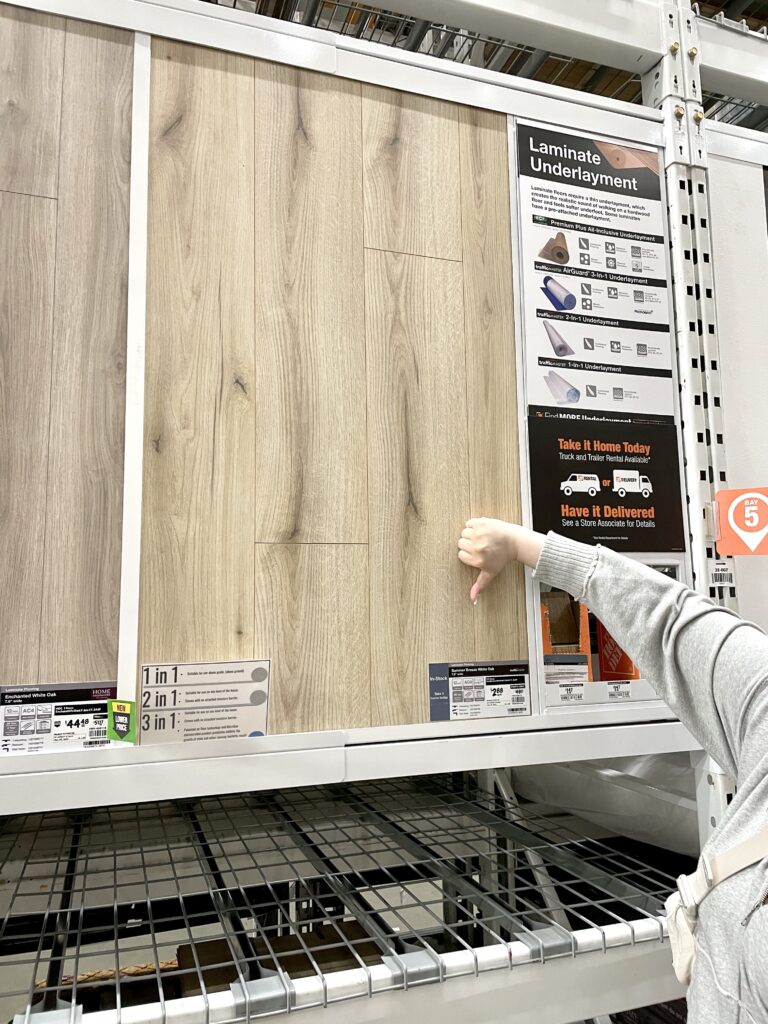
1. Shop in person.
Whenever possible, we love to go and shop in person! We love going into showrooms to see as many items in person/real life as we can. There are so many benefits to shopping in person at your local tile, flooring or hardware store. The first one being you obviously get to see the product in real life! Sure, the photo of that pink glass tile looks like the perfect shade of pink for your project, so you order it and when it arrives… it’s red. When you’re able to see the flooring, tiles, or countertop in person, you can see the true colour, texture, and bring in paint samples or other elements of your design to see with it! Secondly, when you go in person you meet the sales team, you can to talk to an expert and ask a million and one questions, and usually you’ll have one employee who assists you throughout your whole reno process; they get to know you, your project and vision! More times than not, choosing hard finishings involves multiple trips, different samples, and time to decide on, so having the same person help you during the whole process is really ideal. Shopping in person can also sometimes help you snag a little discount, or your sales person can point you in the direction of a similar but more cost effective option that you wouldn’t have found on your own!
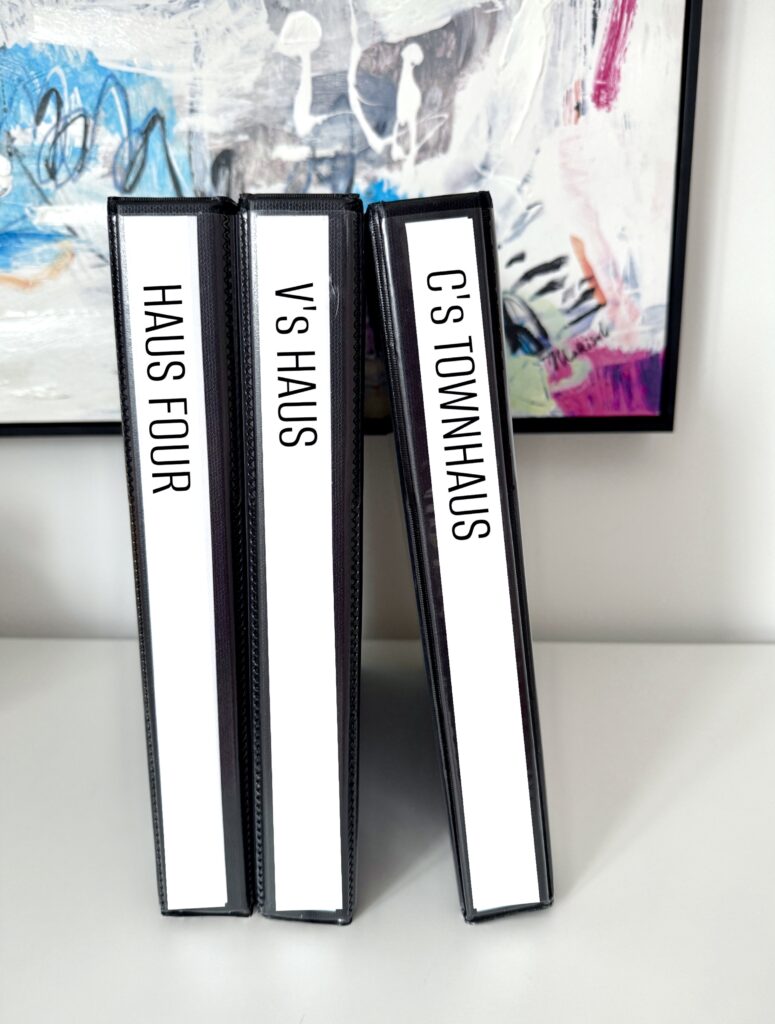
2. Bring your reno binder.
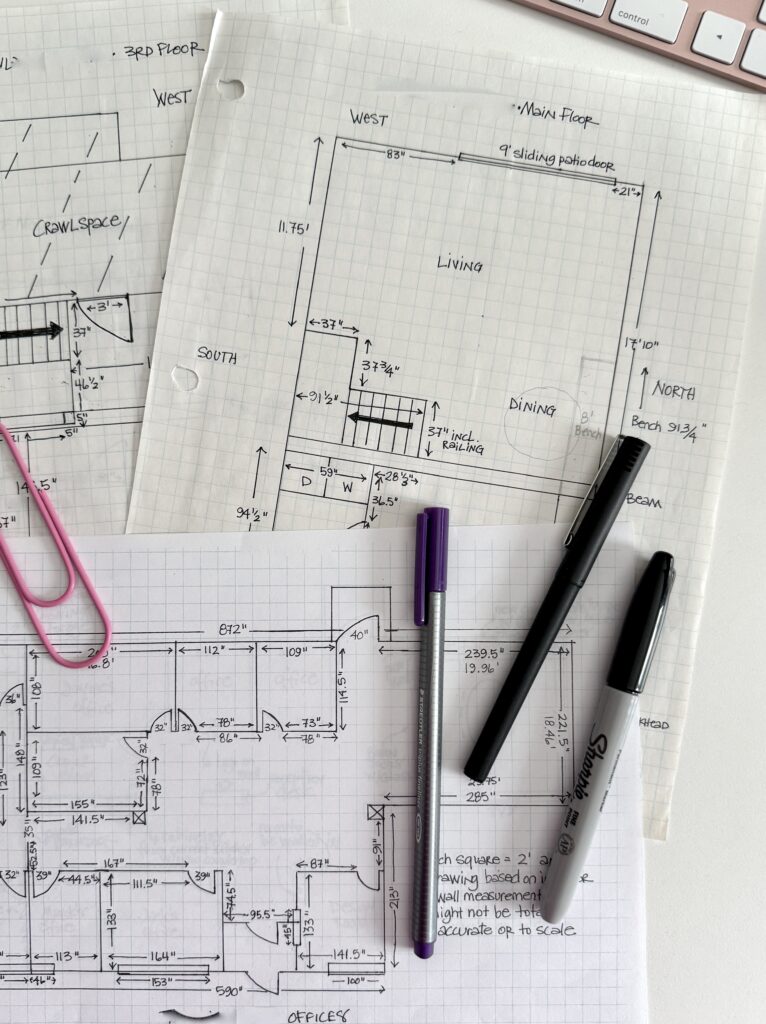
We are old school and love our paper and pens! Sure, you can use your phone’s notes app or other digital tools to store info, but a binder is tried and true. Having things written down or sketched out, categorized by tabs, on a movable sticky note, or even samples from other items you’ve already picked or want to use can be super helpful when communicating your design ideas to a sales person! A binder also gives you a space to store paper you receive while shopping; spec/tear sheets, receipts, business cards, measurements, fabric samples etc. Having accessible paper copies of important info is also helpful if you need to leave a spec sheet or a design idea doodle and measurements with your sales person, or at the job site! We’ve definitely used that front pocket to hold a tile sample or a paint chip card before!!

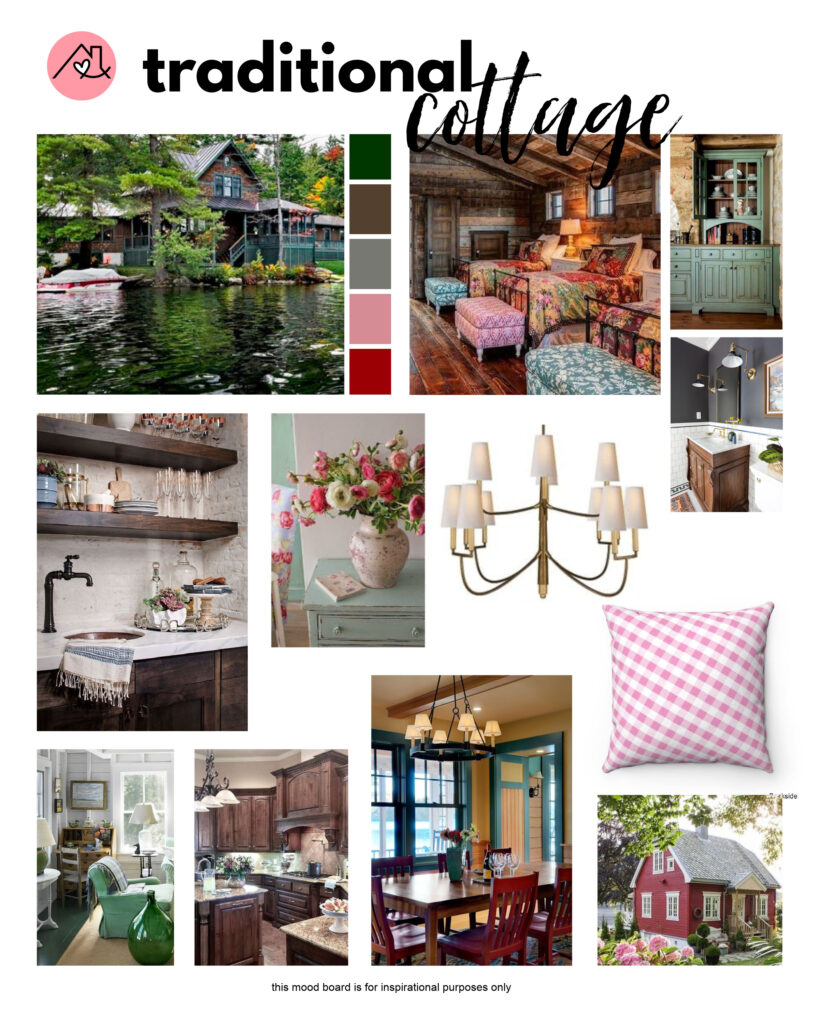
3. Bring your mood board and/or Pinterest ideas with you.
Another great use for your binder, print out your gorgeous mood board and put it in there! You could also print out inspo pins, but we love scrolling Pinterest in real time for inspo and ideas while at the show room.
Our Pinterest boards are clearly named and organized for quick and easy access to find pins to reference. Having your mood board and inspo pins solidified before you go shop is also super important. We always know, or at least have a very good idea of what we’re looking for when we walk into a showroom. If you walk into a tile store and say “you’re looking for something for your bathroom…” that is really not going to help you or the sales person with where to start, but if you say “I’m looking for a dark green subway tile for my shower” they will whip out those samples for you in a jiffy!! We often show sales associates our mood board and/or Pinterest boards so they understand and get our vibe for the project… a picture is absolutely worth a thousand words!
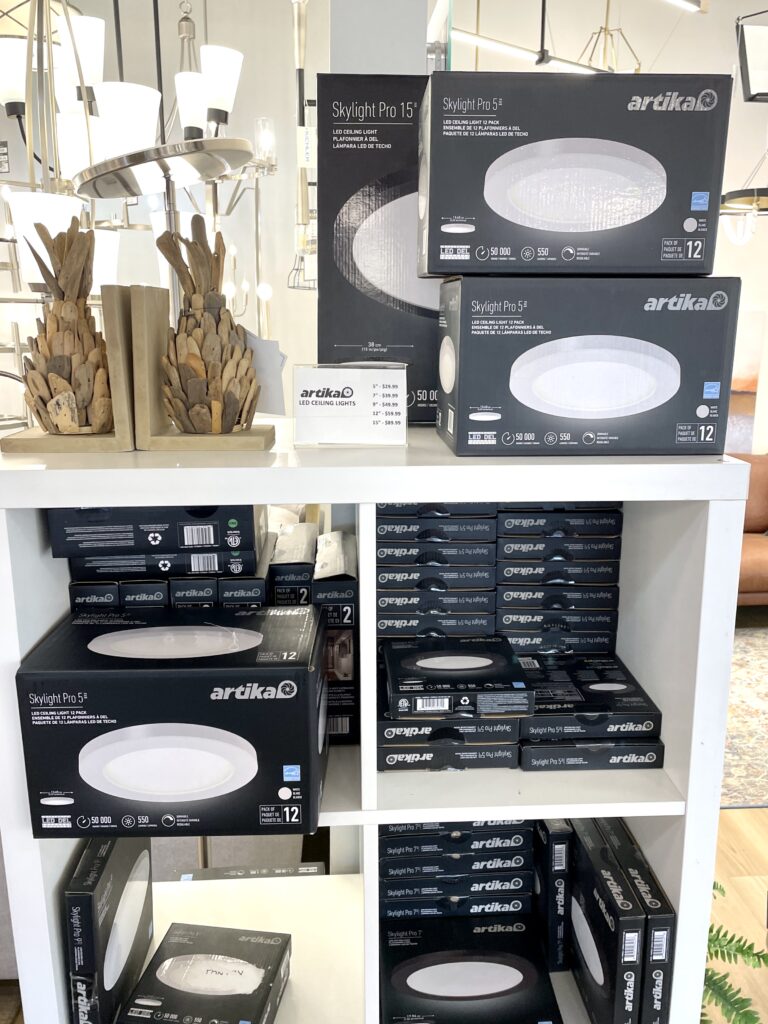
4. Get that business card.
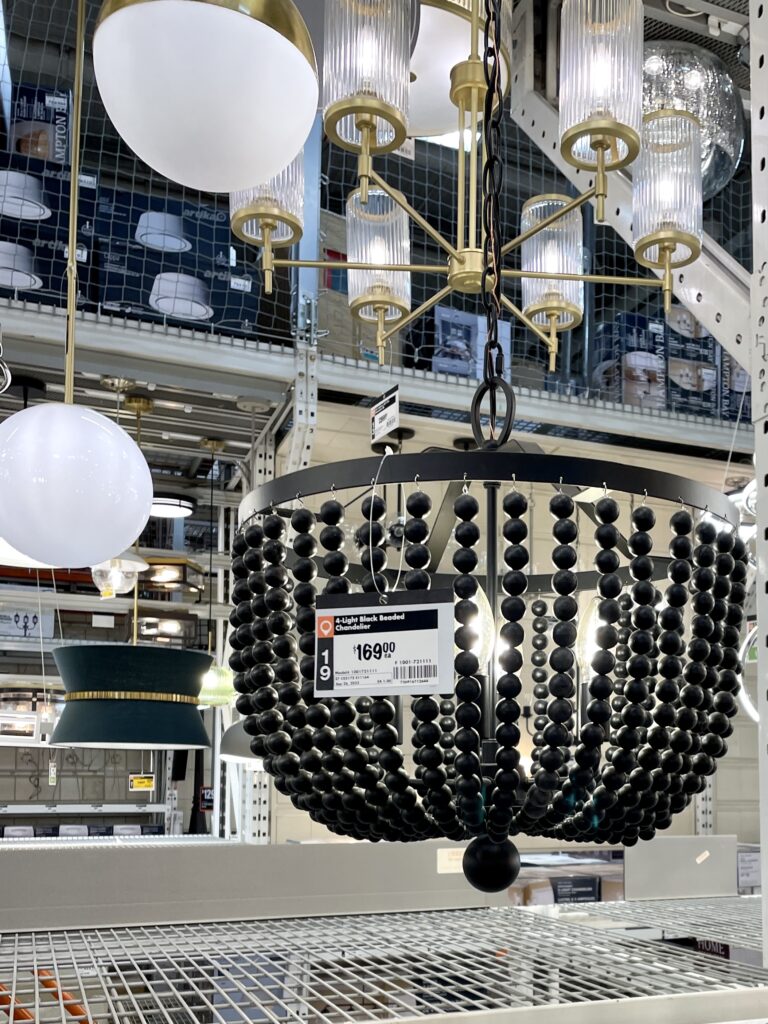
We’re keeping it real here, so there is always an exception to every rule, even ours!! There are the days when we are truly just “window” shopping to get inspiration or option ideas for a project… this happens specifically at lighting stores for us, because there are so many sparkly, pretty, shiny objects!! But communication is always key, and when we are at the beginning of a project or really just looking, we’re honest with the sales associate that gives us a hand! However, we always grab a business card so we have their contact info should we have more questions, need prices or get availability and lead time info!

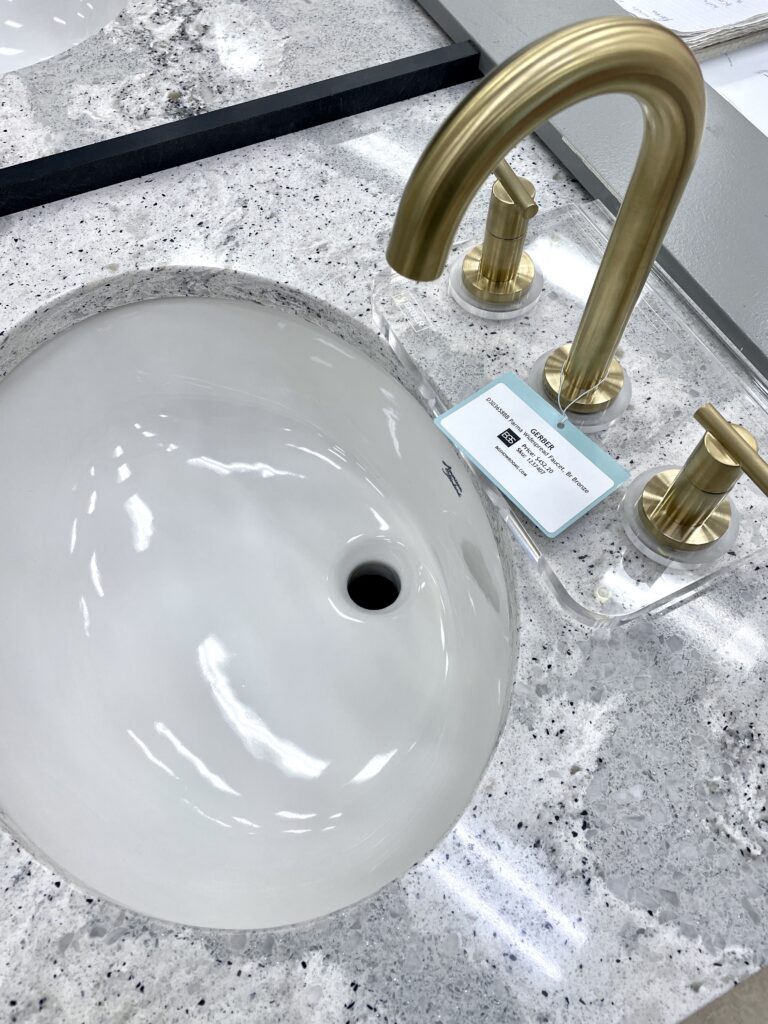
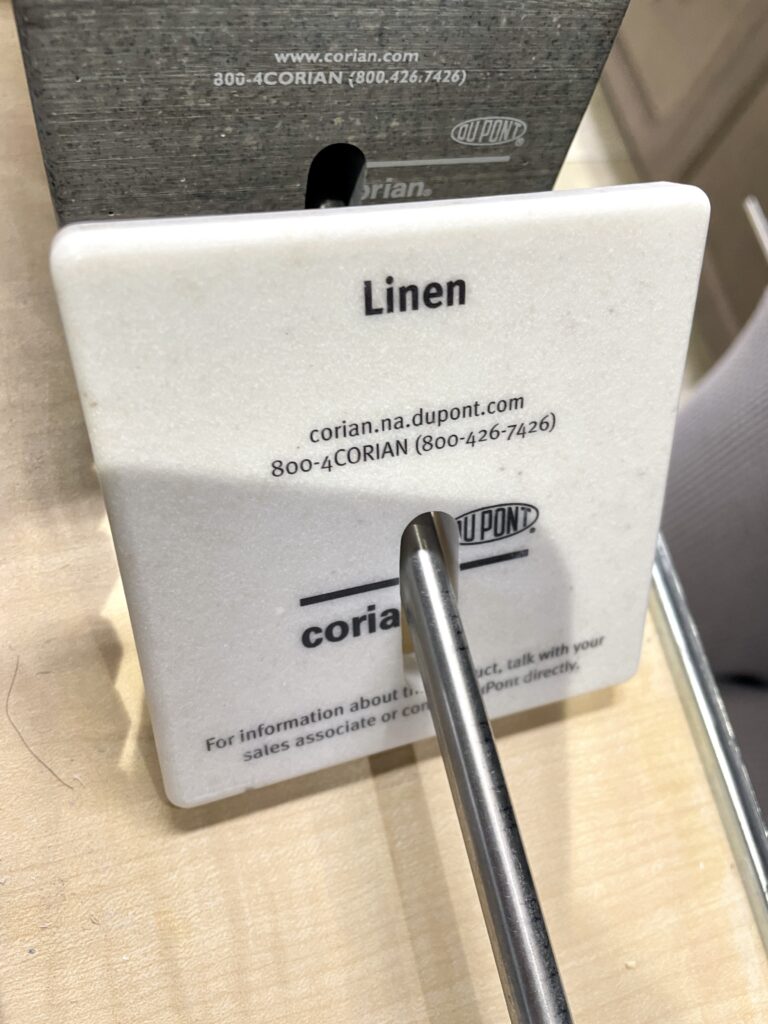
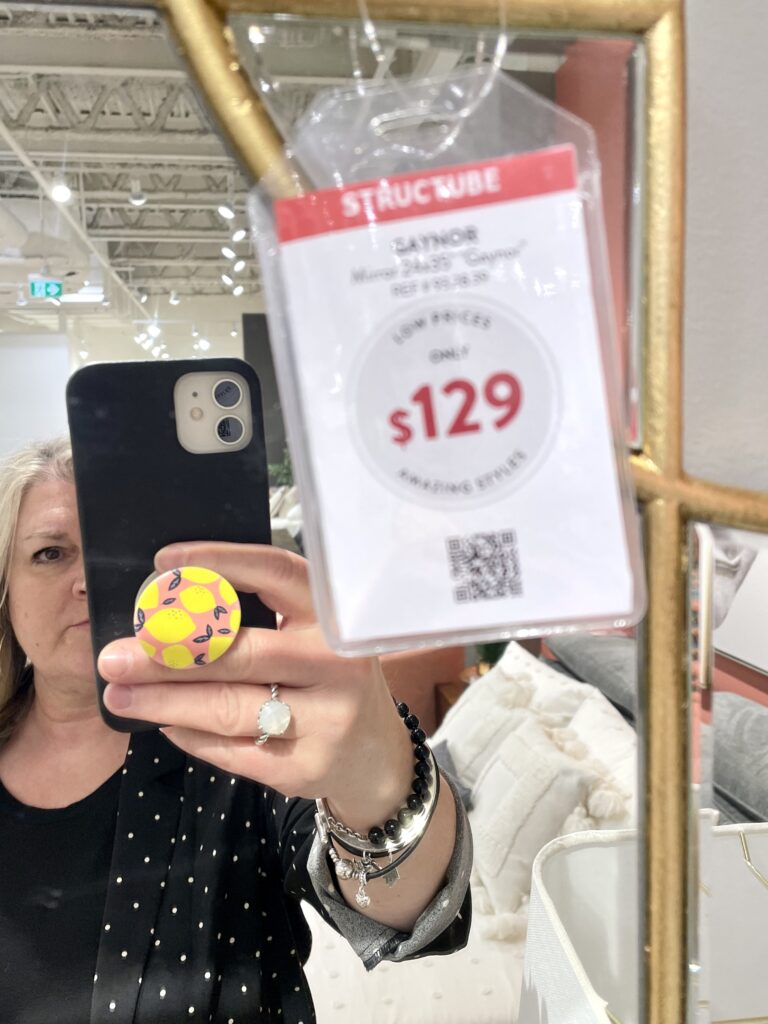
5. Take a photo of that sample.
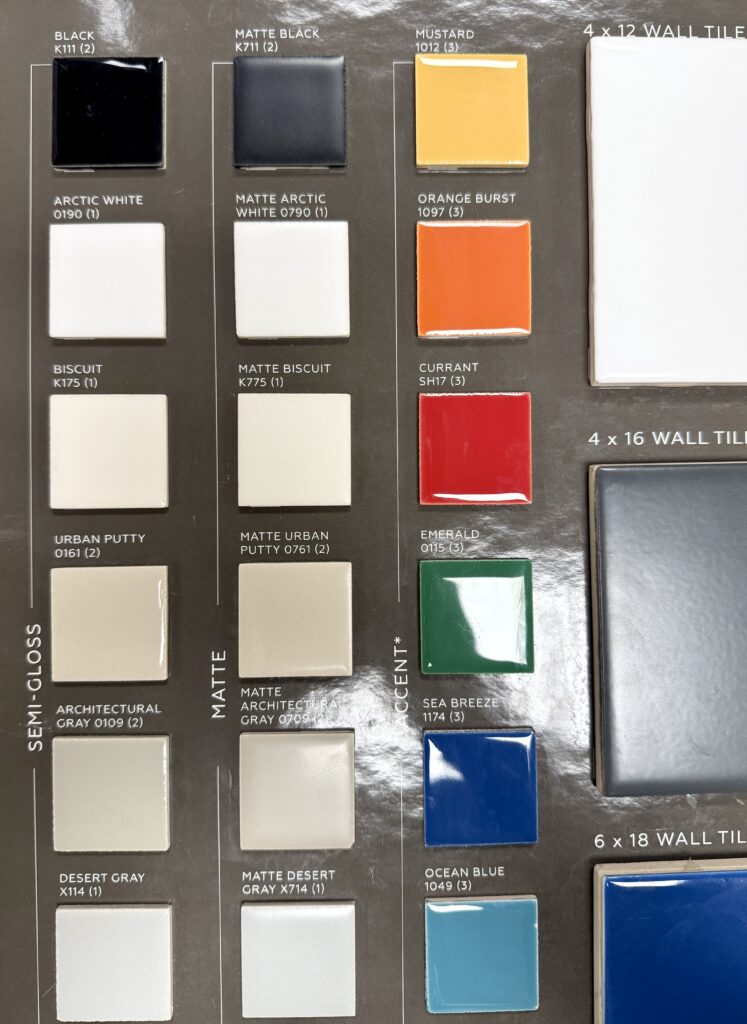
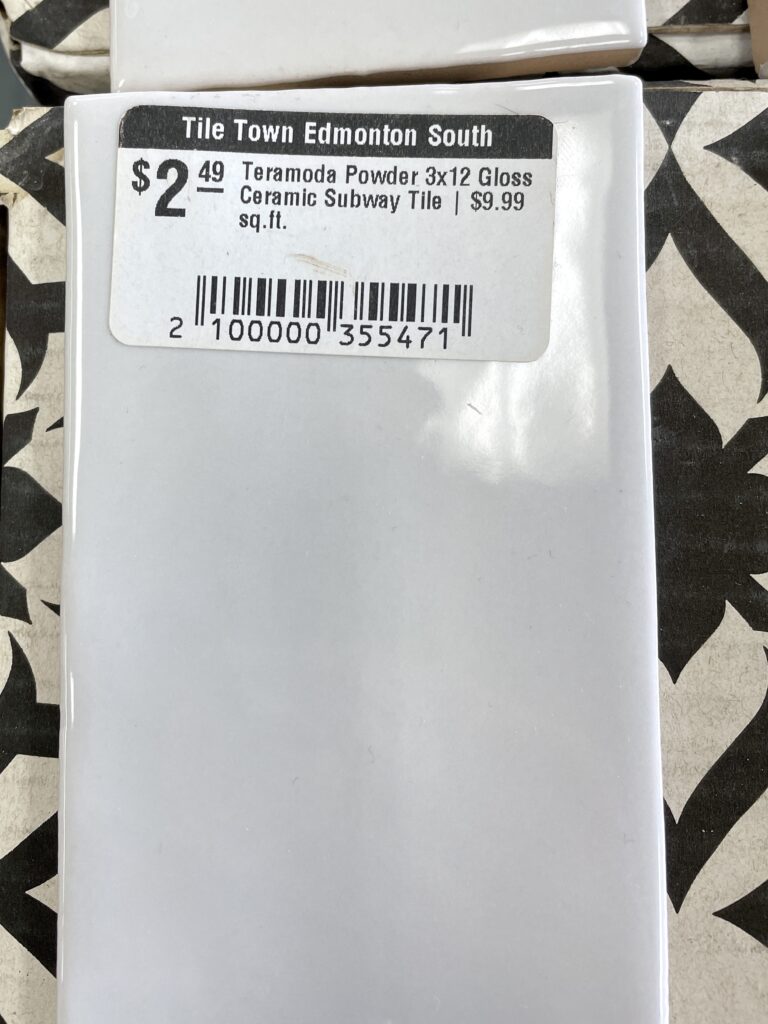
If you are shopping in store, and you’ve picked a tile, light, floor, or sink that you love and think might work, take a picture!! Take one (or a few) of the sample, and a picture of the price tag, then ask the associate to email (or print out for your binder!!) the tear sheet, which will have all the details and a photo of the item you are choosing. Create an album in your photo app on your phone and put the photos you just took into that album right away. Then you’ll have all the items you loved in one place, and it’s easy to pull up the images when you need them next!

6. Find out the availability and lead time for the item(s) you’re interested in.
This is super important to know when you do find that countertop sample you love and have decided it is going in your kitchen! We have often been excited by a spectacular tile, appliance or flooring sample, only to learn that it comes from Italy and only gets manufactured twice a year, and next ship date is 6 months from now but we’re aiming to be finished the whole project in 3 months!! Ya, that does NOT work!! Sometimes you also get lucky and this info is great news; that tile you love is in stock 24/7, they currently have 90,000 units in their warehouse which is conveniently down the block!! Lead time and availability for hard finishings is always unpredictable, so getting this info as soon as you can is crucial to keeping on track and nailing down your timeline!7. Get a sample.
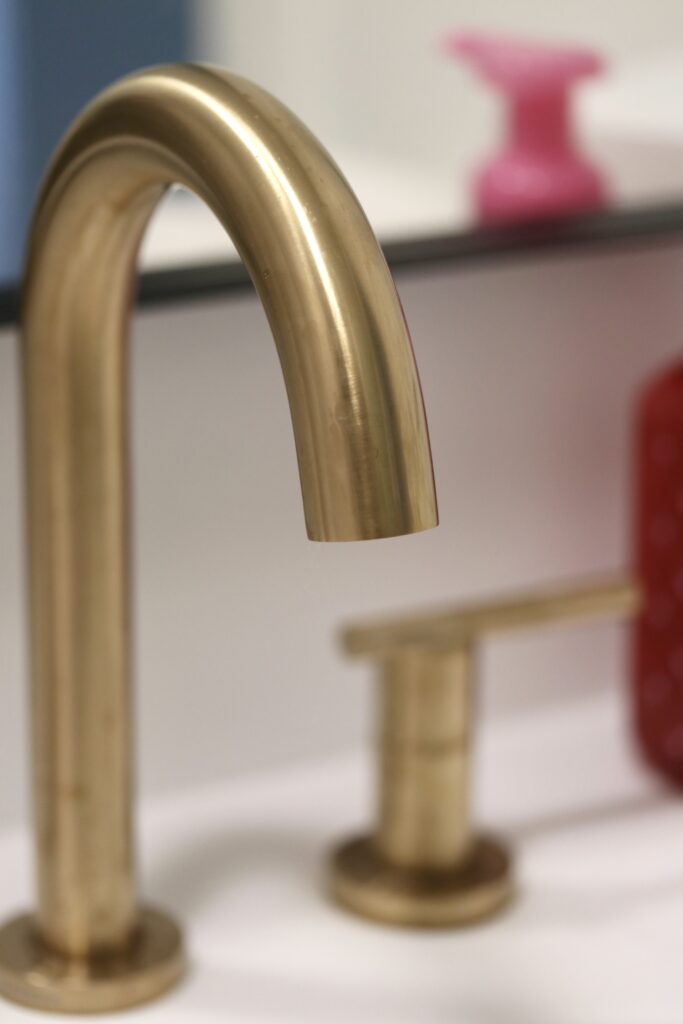
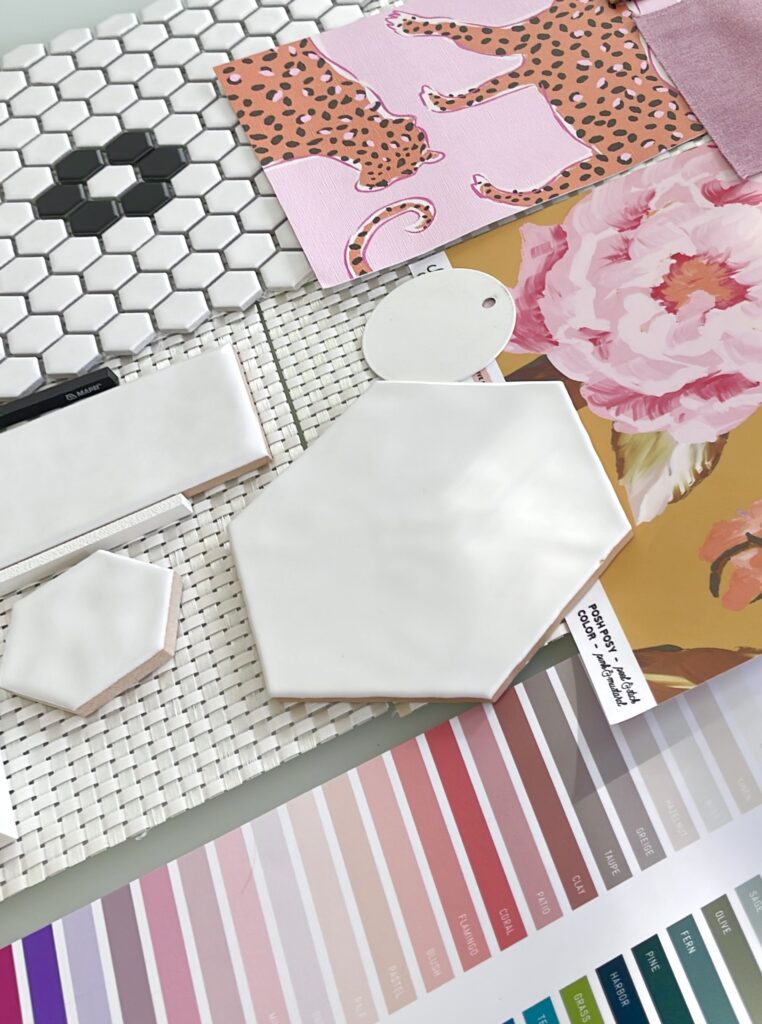
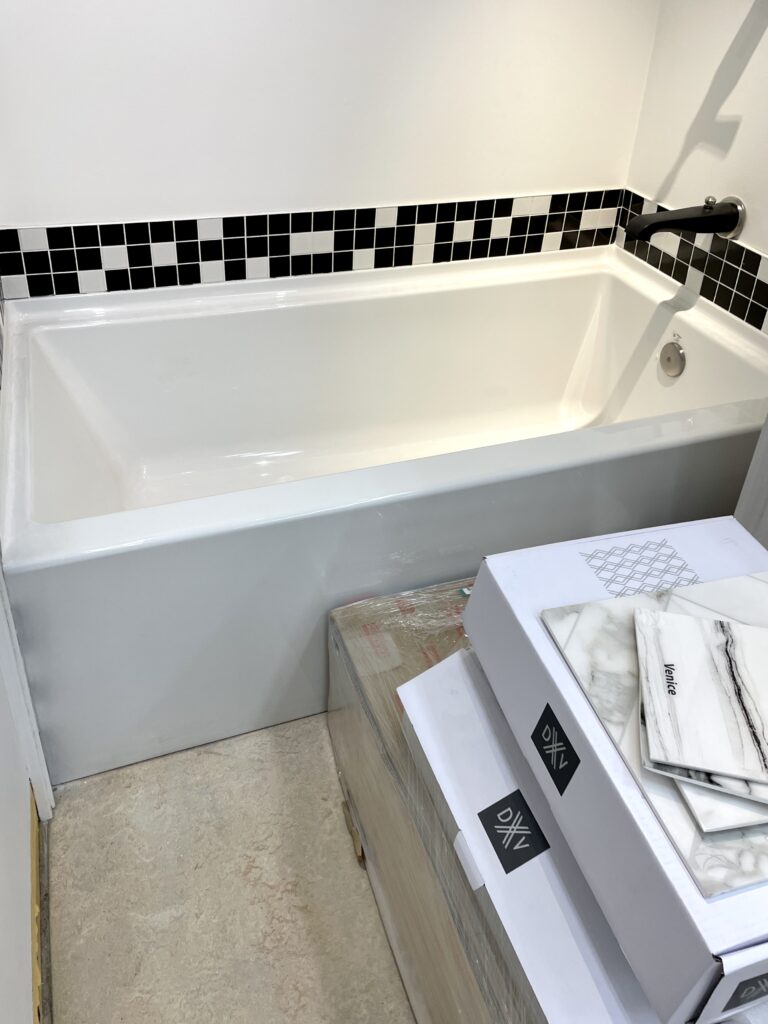
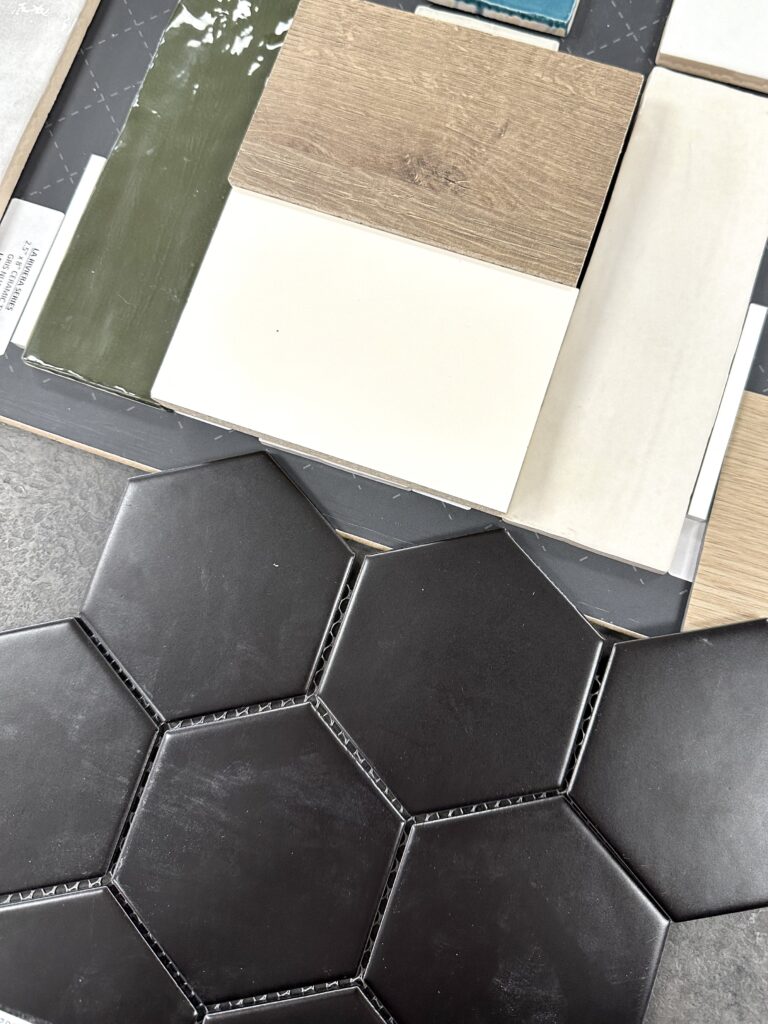
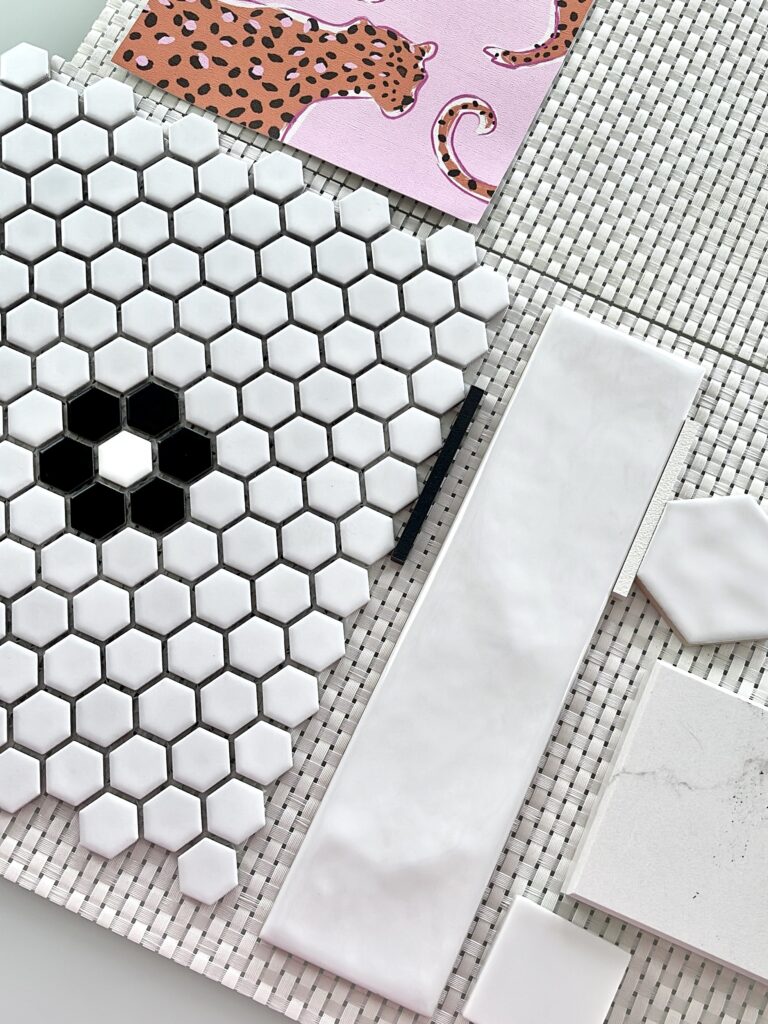
We live for a sample here at Hallo Haus Studio… there is nothing better than seeing that glossy black tile, a sample strip of the floral wallpaper, a gold drawer pull, your paint colour swatch and a piece of the flooring you’ve picked all laid out, together, in front of you, in real life! Getting samples of your items (even if it’s just one single tile, or a 12×12″ wallpaper sample) is one of the best ways to avoid any big mistakes during your project, and helps you make a definitive choice for that finishing option. Sometimes samples are free (yay!), other times they’re not (booo…lol!), but when that is the case we say buy the sample every time, it is always money well spent!! If it is a finishing that creates a pattern, specifically with tile, buy enough sample pieces to create the full pattern so you can actually see what it looks like and be able to compare with your other hard finishes. This rule is also applies to items that come various length or width options, like with trim; get a sample piece of your trim(s) cut so that you can see how it looks in your project. Cabinet and countertop manufacturers almost always have small samples of their standard cabinet & countertop colours that you’re free to take. And when it comes time to buy paint to test out on your walls, doors, or cabinets, buy the smallest can of sample paint available! Paint samples are also great to see different finishes in a room, especially when you’ve chosen your colour but aren’t sure if you should go with satin or eggshell.
8. Don’t buy anything on your first time into a showroom.
Shopping hard finishes is such a fun process, but it can be overwhelming since there are so many options in all of the categories. When we are ready to shop, we are confident on our design style and usually know what we’re looking for, but we never buy the first thing we see! Our first shop is always a window shop- we’ll get any samples that we like, and bring them home to make sure that our vision is on track, and that different finishings are working together! Sometimes we change our minds when we see everything together, or the sample looks totally different in our space from how it did in the showroom! Also, budget is obviously a big factor during a reno, and that white subway tile you’ve picked might be $1.60 per tile at Hardware Store A, but $1.10 per tile at Hardware Store B! Shopping around for the best price is never a bad thing! Once we’ve decided that all our chosen finishes work together in the space(s), that’s when we go back to the showroom or contact our sales associate to purchase our items!9. Measure (at least twice!) before purchasing any hard finish.
Measure twice (or 12 times, we’ve done it!), buy once!! Confirm all the measurements of all your chosen finishes with everyone working on the project! First, confirm with your sales associate that you have accurate and up to date measurements on the correct item you want, then have conversations and confirm with your contractors, tradespeople, and installers that the measurements are correct and will work/fit in your space. Sometimes contractors and trades can do purchasing for you, but this might be an extra cost, and as type-A perfectionists, we like to be as in “control” of our purchases as possible! Also when you’re the purchaser, you will be the first to know if something has been delayed or gone wrong… like if the shipping container fell off the boat, the company you bought from went out of business… you never know! And the sooner you know about an issue the sooner you can find a fix, as they say; time is money!! Correct measurements are also money… you would hate to buy $2000 more of flooring than you actually needed, or be 200 tiles short only to find out you can’t get more for 8 weeks.
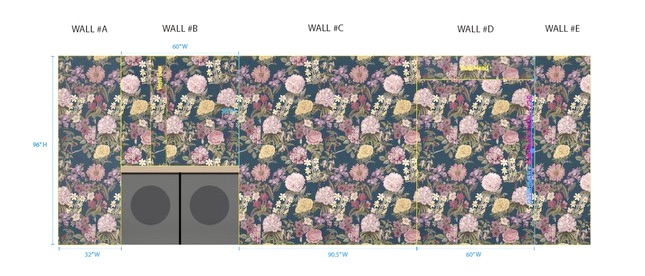
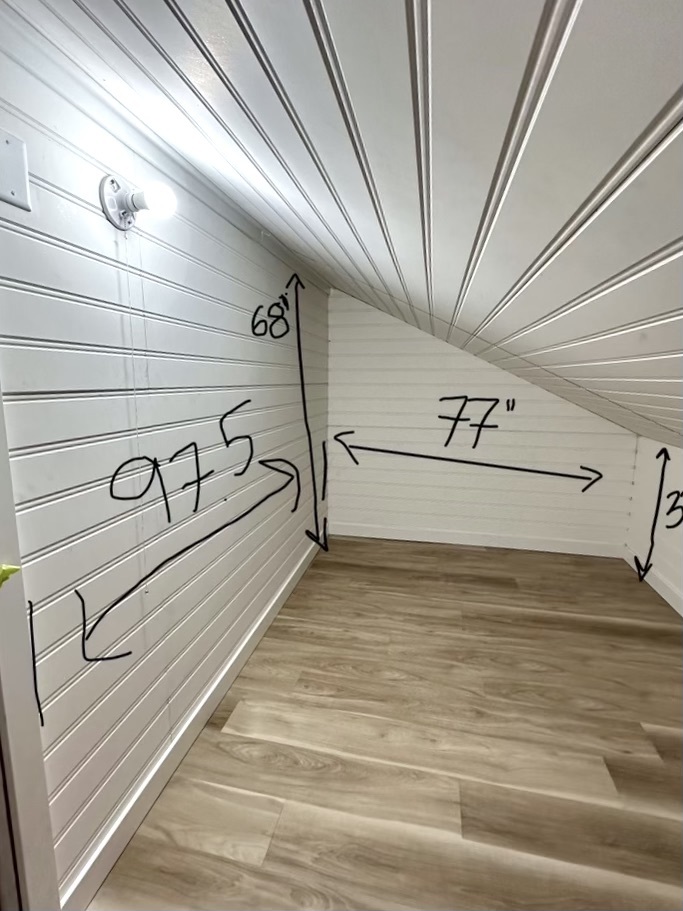
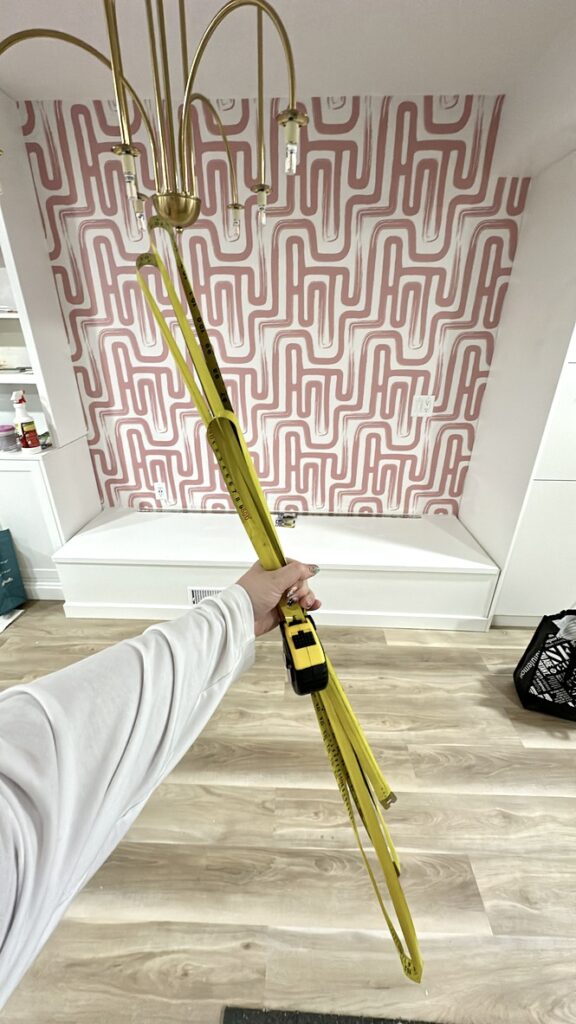
Lastly, I am the GC on all of our projects, the buck, and measurements, stop with me! If the fridge arrives and doesn’t fit, my fault! Therefore, I check, double check and often quadruple check for quantities, space restraints etc. I often send Claudia to a project to re-measure just to be 110% sure!! We always go in and calculate & measure first, sometimes you can get measurements from your realtor’s property info which is a helpful place to start; then we have our contractors measure and hopefully confirm what we measured matches their calculations! If not, we discuss, everyone remeasures, and we figure out what went wrong… and then remeasure one more time! When you, your sales person and your contractor ALL have the same information, then and only then do you swipe your card!! It’s better to be safe than sorry, my carpenter dad always taught me “measure twice, cut once!”
I want to end this post on a real.life. point: being a team of women, picking and buying hard finishes can be one of the tougher parts of a reno project. The construction and adjacent industries are still a mostly male dominated field, so often times when you’re shopping for your hard finishes you’re talking to a man. Most trades people are still men, (if you are a trades woman PLEASE reach out to us, we’d LOVE to work with you!) and will be on your job site day to day. Most of the time things go smoothly and the men we work with are great (some we’ve even added to our team!) but we have been in stores and situations where we’ve been questioned and ridiculed for our design choices, been argued with for no reason, been talked down to or had something mansplained to us by, well, a man. We have also had to smile and nod at many unsolicited opinions from men… and usually it’s one who doesn’t have “designer” in his job description! Again, this isn’t always the case BUT it happens, assumably, because we are women. Since this may happen to you at some point in your reno journey, our best advice is to always be confident and direct, polite but firm, and kill everyone with kindness. There is always a time and place to be a boss bitch, especially in a construction zone, and especially when a man says “no” without a good reason, (Claudia is very much bad cop in this situation and has been “bitchy” when tradesmen tell her no, which I love and respect!!) but you will install more tiles with honey, or whatever that saying is!! Always stand up for yourself, don’t be afraid to ask questions, get clarification or come off as “stupid” or “ditzy”, and trust your gut! This is YOUR project and YOUR vision, and you are going to crush it!!


Leave a Reply