
A few years ago, before we were sharing any of our reno content online, Claudia and I completed our first flip! We are still so proud of this project, and we knew it had to have a permanent home here on the blog!! We had gone condo touring around Edmonton and found her: our cute, on the 3rd floor, one-bed-one-bath condo in the Strathcona area. She had some good bones and was a great price, so it became our first rental unit. We totally lucked out with our tenants, they were caring, conscientious and clean! When they decided to move out into their own house, I made the decision to end my “landlord era” (as Claudia would say). At the time the market was slow, and we were fresh off the reno of my house and itching for a new project, so we decided to give our 99st condo a little facelift, if you will! We had a tight timeline and small budget to get her refreshed and back on the market, and we didn’t want to put more money into it than we could realistically get back out for that area. With that in mind this is how our condo reno went:
Kitchen.
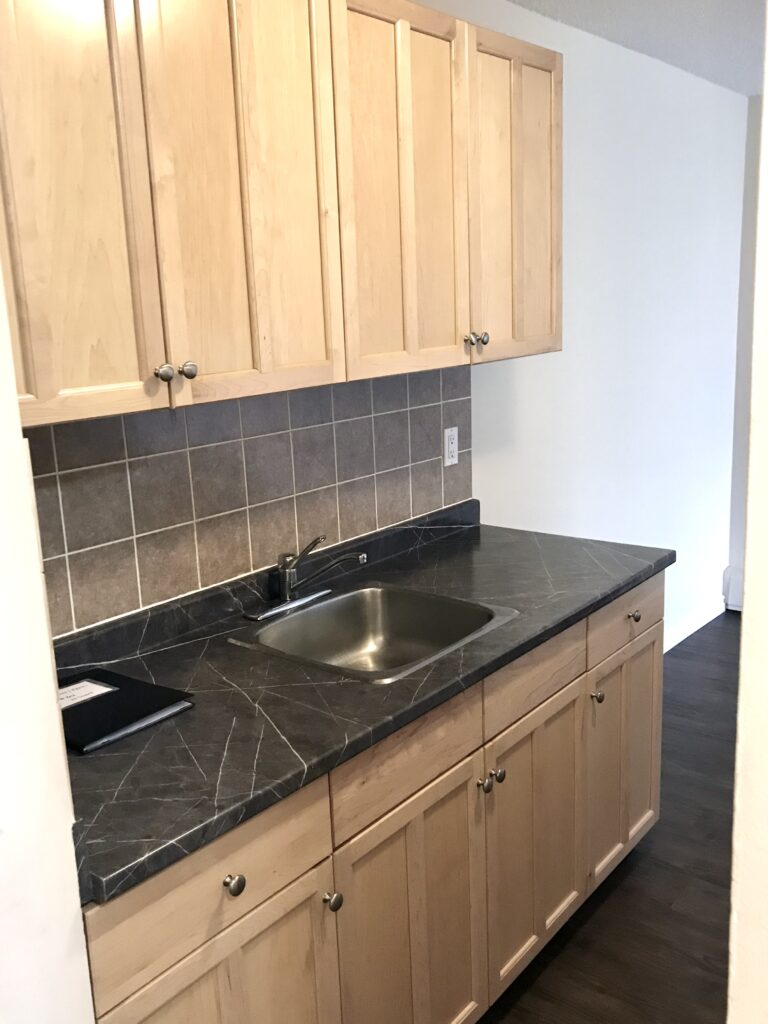
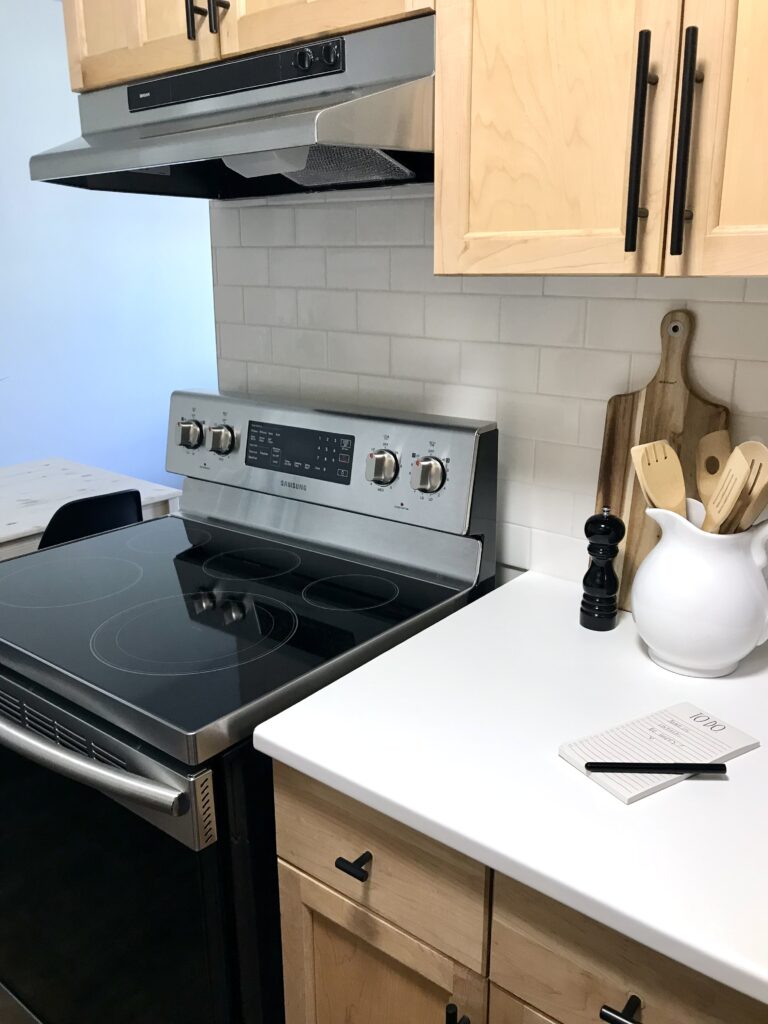
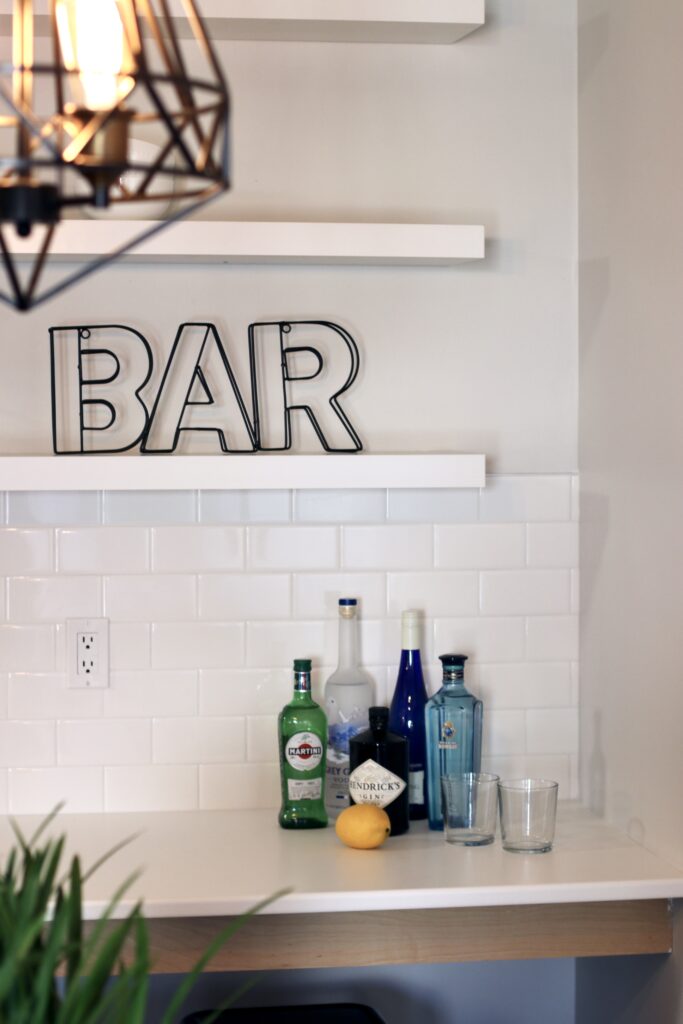
The heart of the condo, the kitchen! They always say kitchens sell properties, so I knew we had to spruce ‘er up. The cabinets were still in great shape, and refinishing, repainting or replacing cabinetry can be very costly so that wasn’t an option here. But changing some of the elements around the cabinets made them feel fresh and new again! We removed the grey square tile and replaced it with this simple Anatolia white subway tile from HomeDepot.
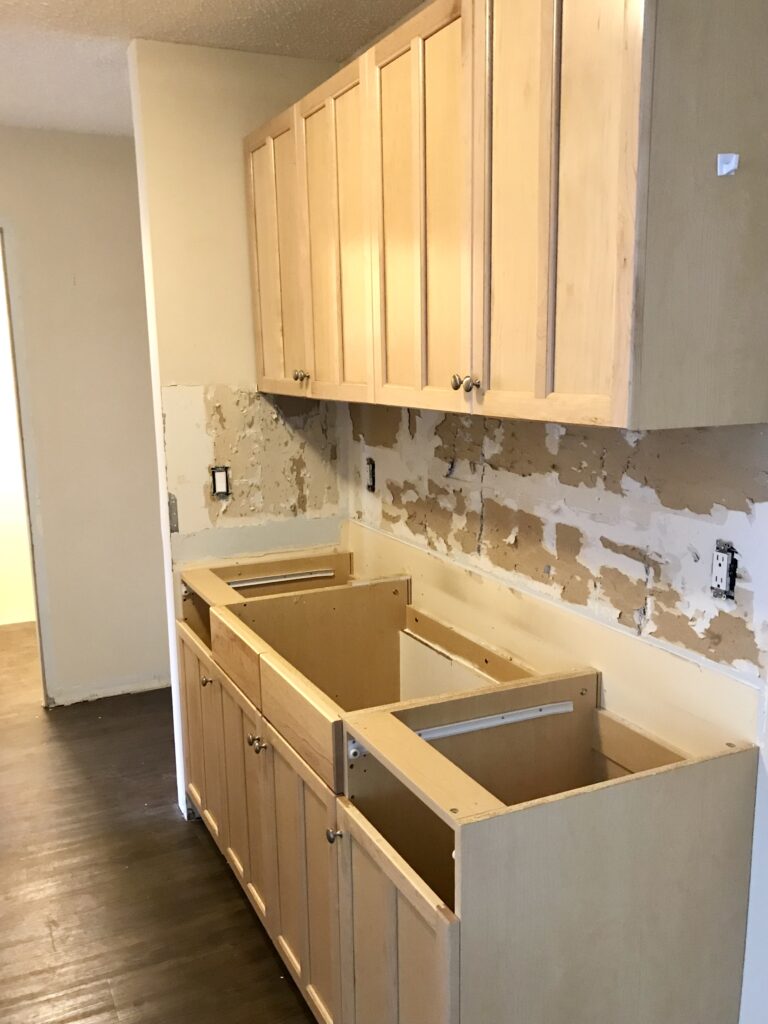
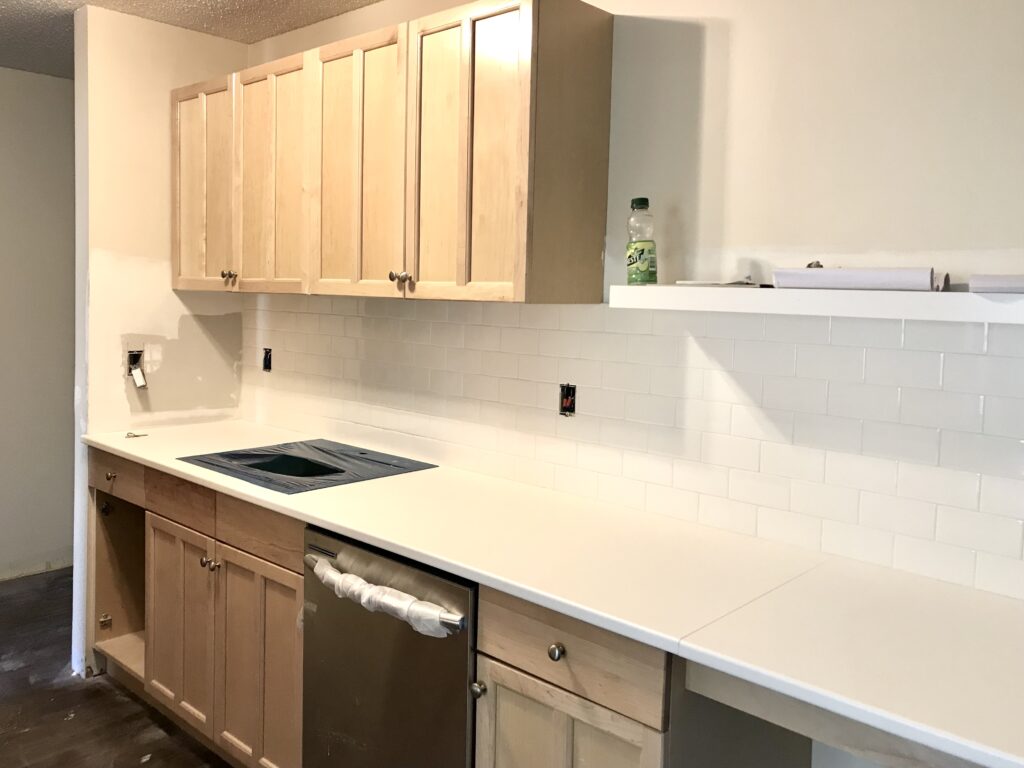
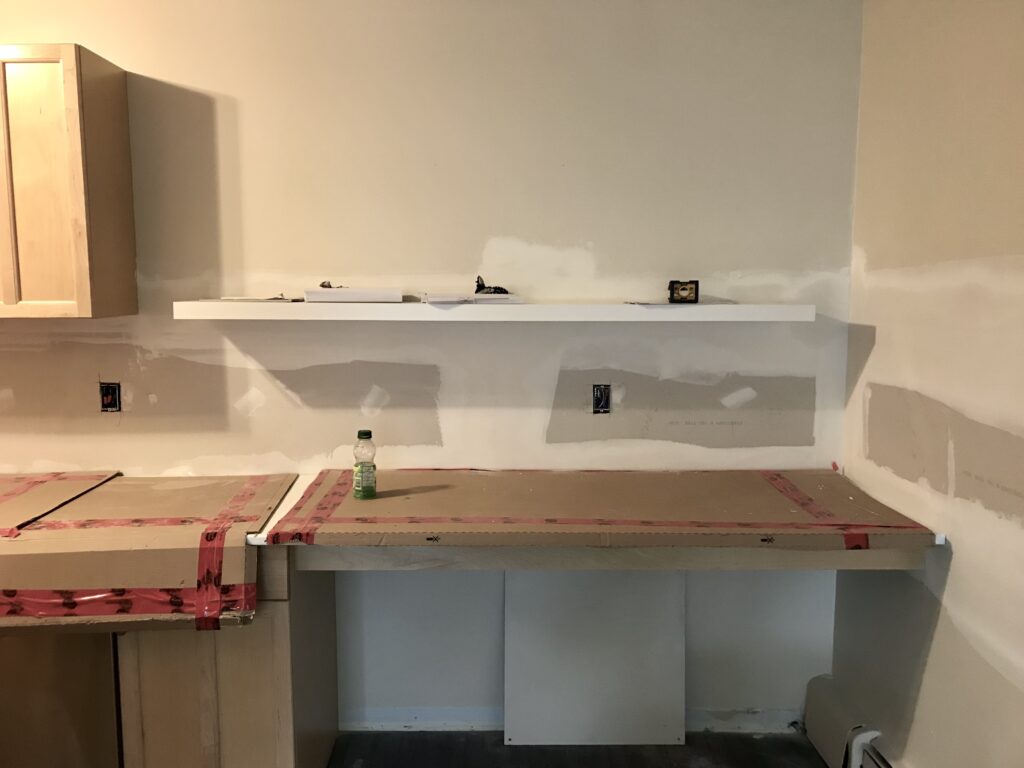

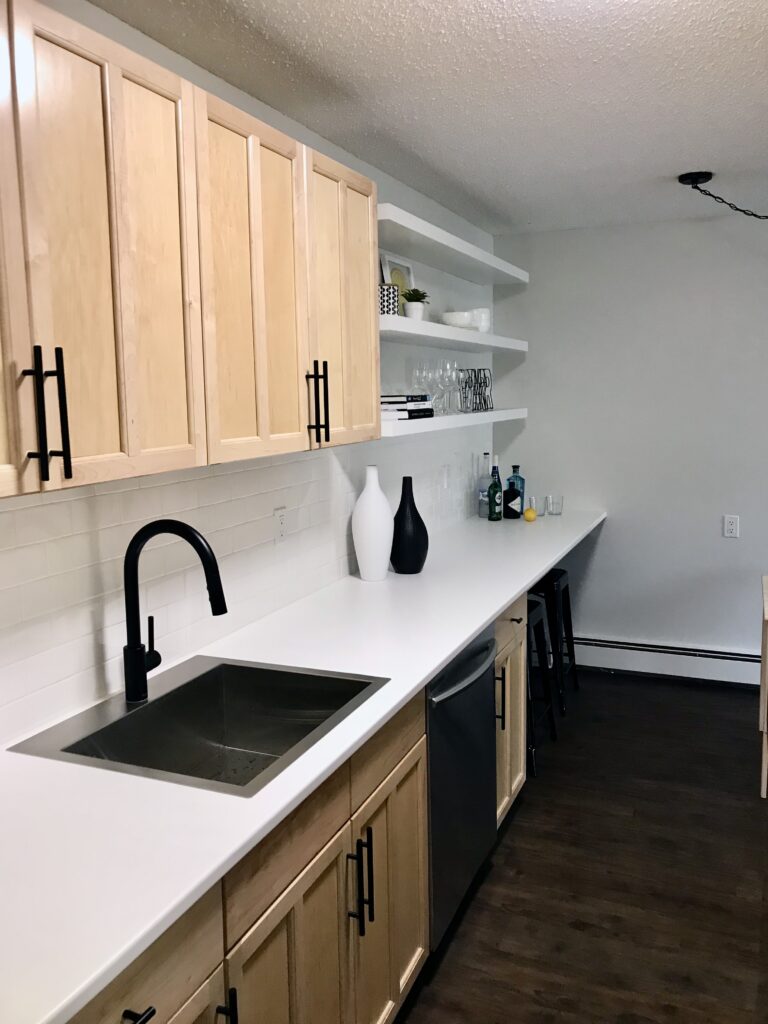
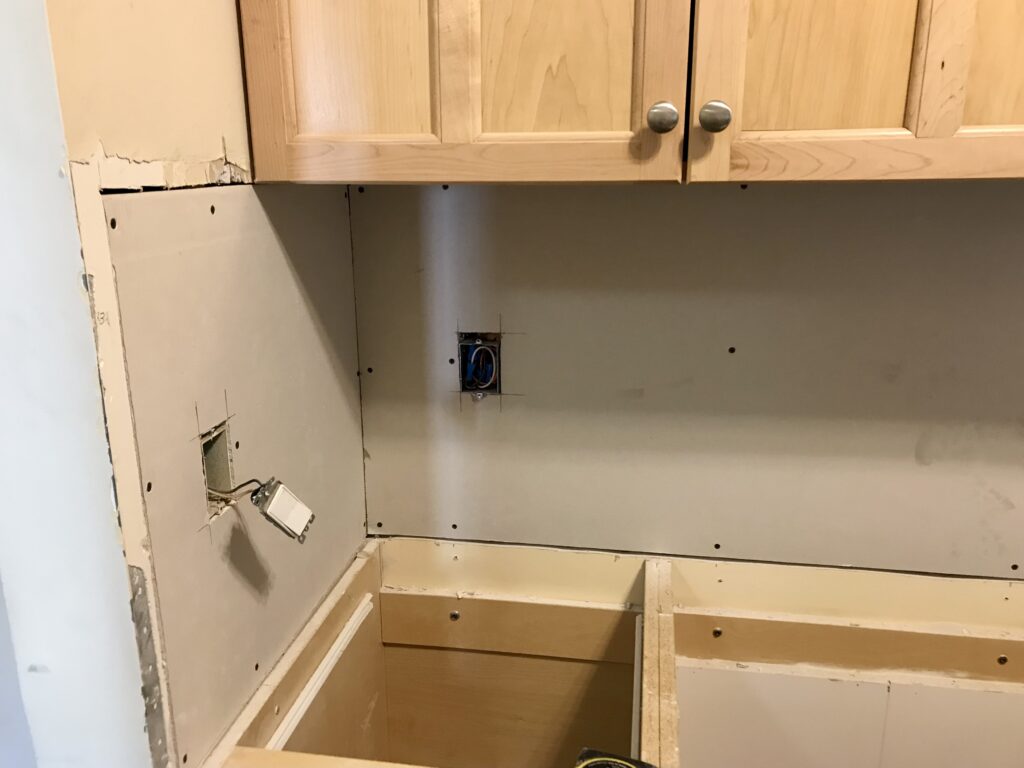
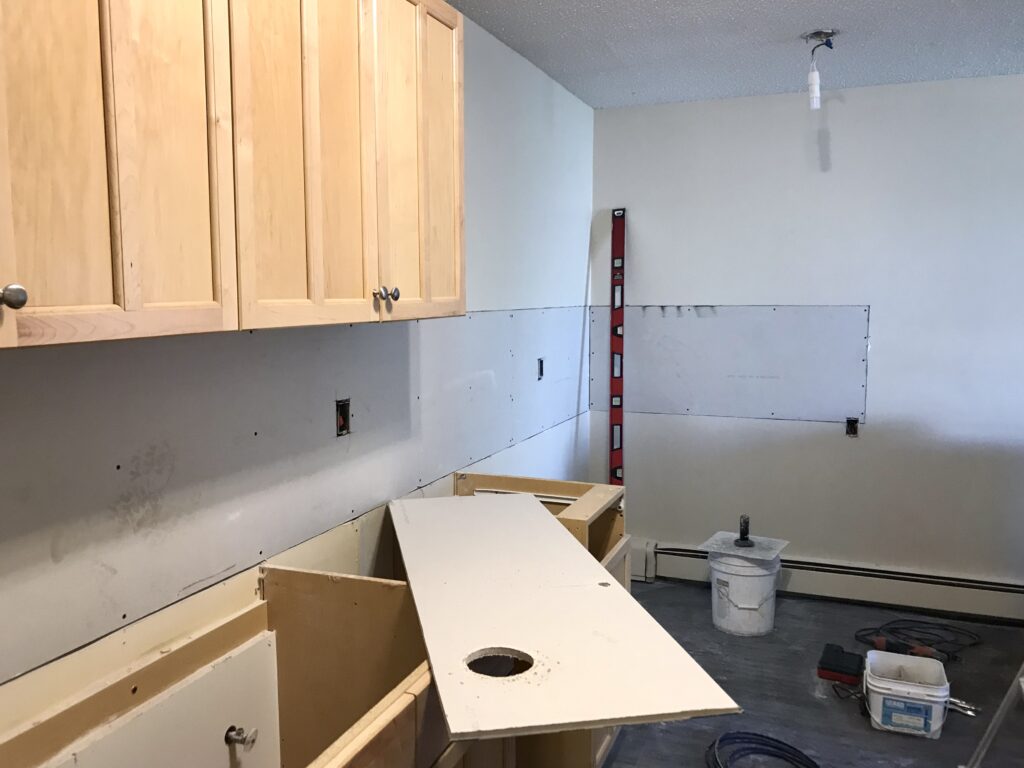
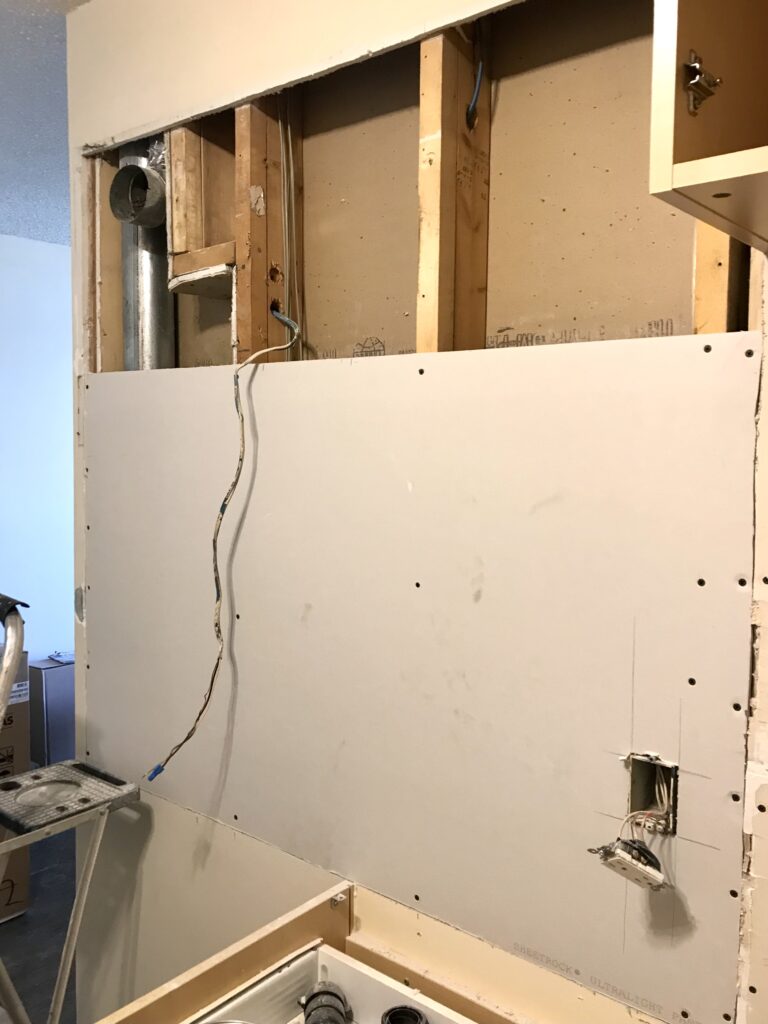
We removed the old black “marble” countertop and replaced it with the Ikea Custom Laminate Countertop in ‘White’ and extended it all the way to the other wall, creating a bar seating area! Above the new bar we installed three 74 3/4″ Ikea Lack shelves in white to make the new bar area feel like a natural and intentional extension of the kitchen! With our new extension of the kitchen, based on Alberta Building Code, we needed to add more electrical sockets, therefore replacing the drywall. We installed a dishwasher (there wasn’t one in the unit when we bought it) and moved one of the lower kitchen cabinets over to the other side to help support the new floating counter top, and cover the exposed side of the dishwasher.
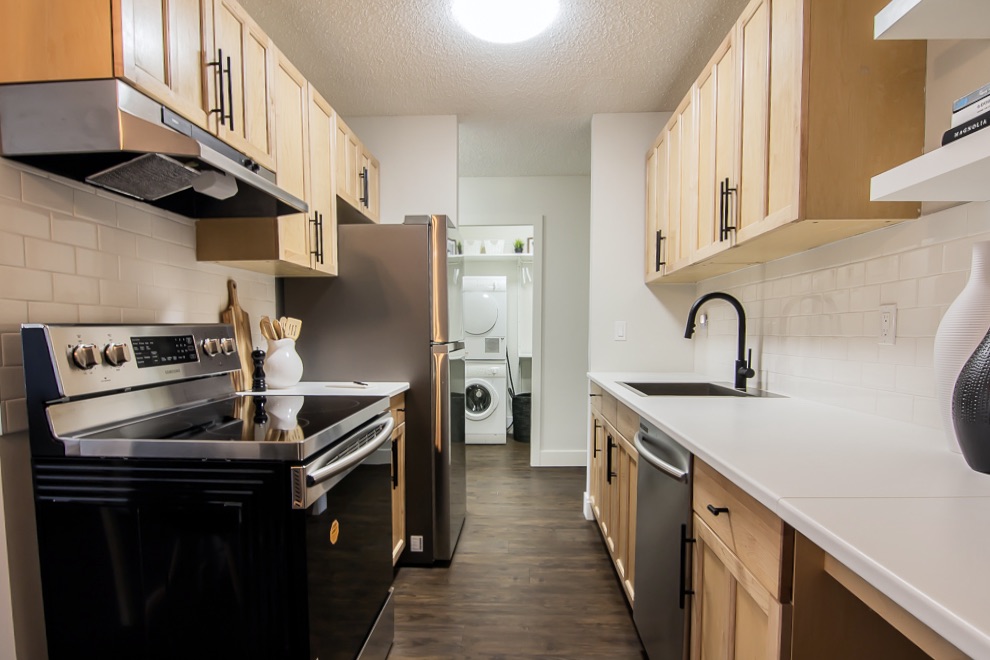

We swapped out the kitchen table light (you can see the original light in a laundry room photo later on in this post!) for this fun pendant light, no longer sold but this one from Canada Lighting is super similar!
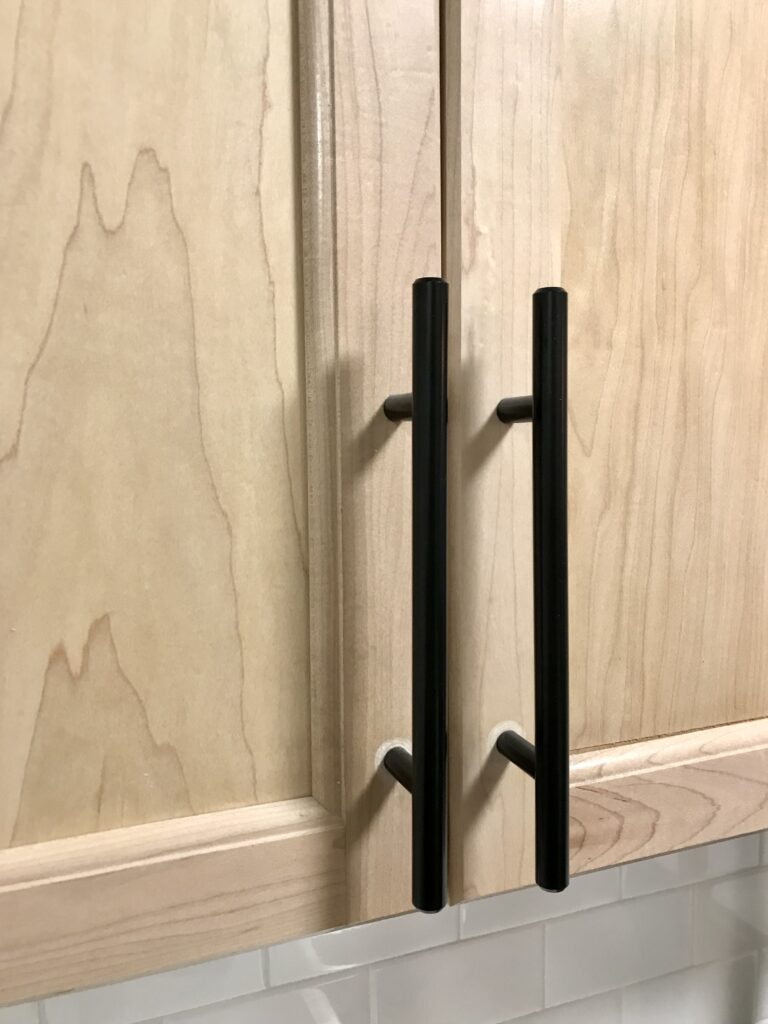
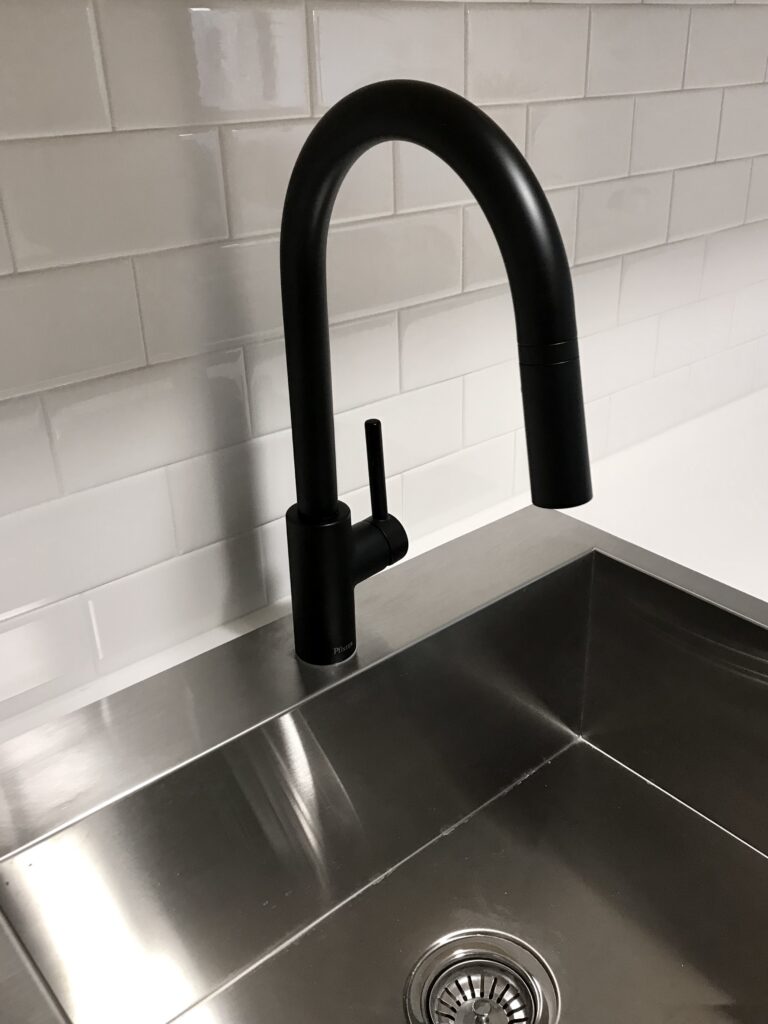
We replaced all the hardware on the cabinets, going from small silver knobs to the Richelieu Washington Collection Modern Cabinet Bar Pull in matte black. To match the beautiful new statement pulls, we wanted a black sink faucet and chose the VIGO Greenwich Single-Handle Pull-Down Sprayer Kitchen Faucet in matte black. Along with the faucet, we also replaced the sink with the Kindred Brookmore Drop in Single Bowl 1-Hole Stainless Steel Kitchen Sink. One of the only issues we encountered was finding some mold on the wall under the sink where the plumbing entered our unit. An easy and simple fix: mold remediation spray!
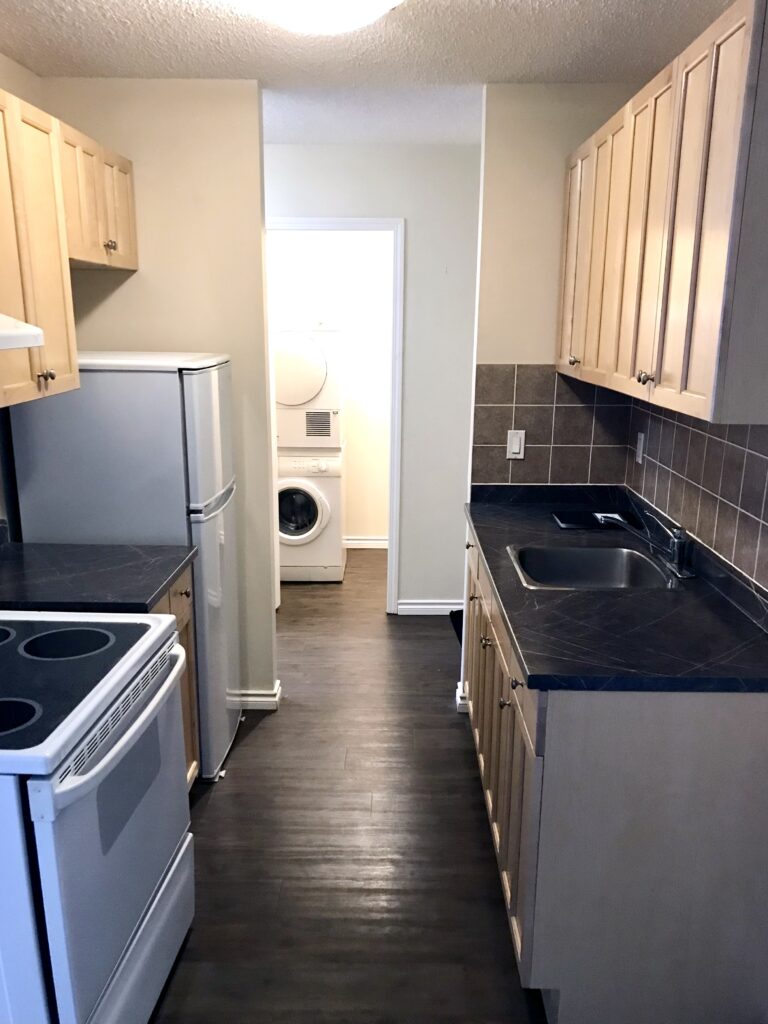
Along with adding the dishwasher, we upgraded all the other kitchen appliances; a full size fridge, oven and vent hood. Thankfully we did replace the vent hood because when we took out the old one to install the new one we found out the vent was NOT connected, which OBVIOUSLY we fixed!! I don’t think we would have ever known the vent hood wasn’t connected if we hadn’t done this reno, and as that is a big safety issue, I’m glad we caught it and fixed it!

Bathroom.
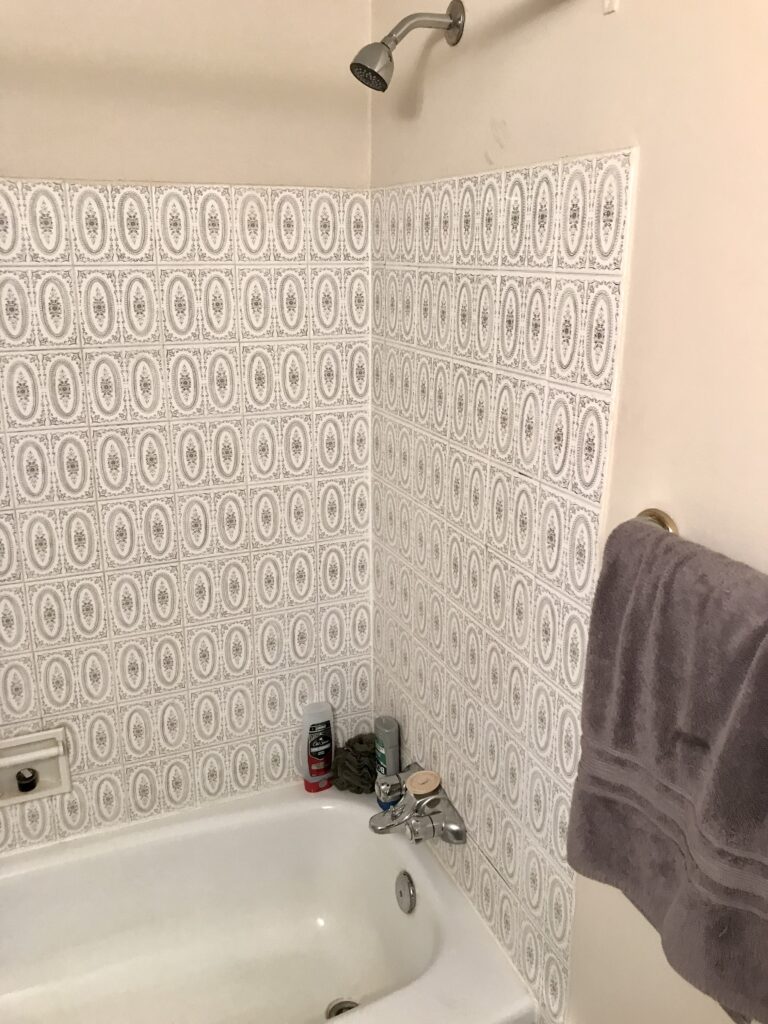
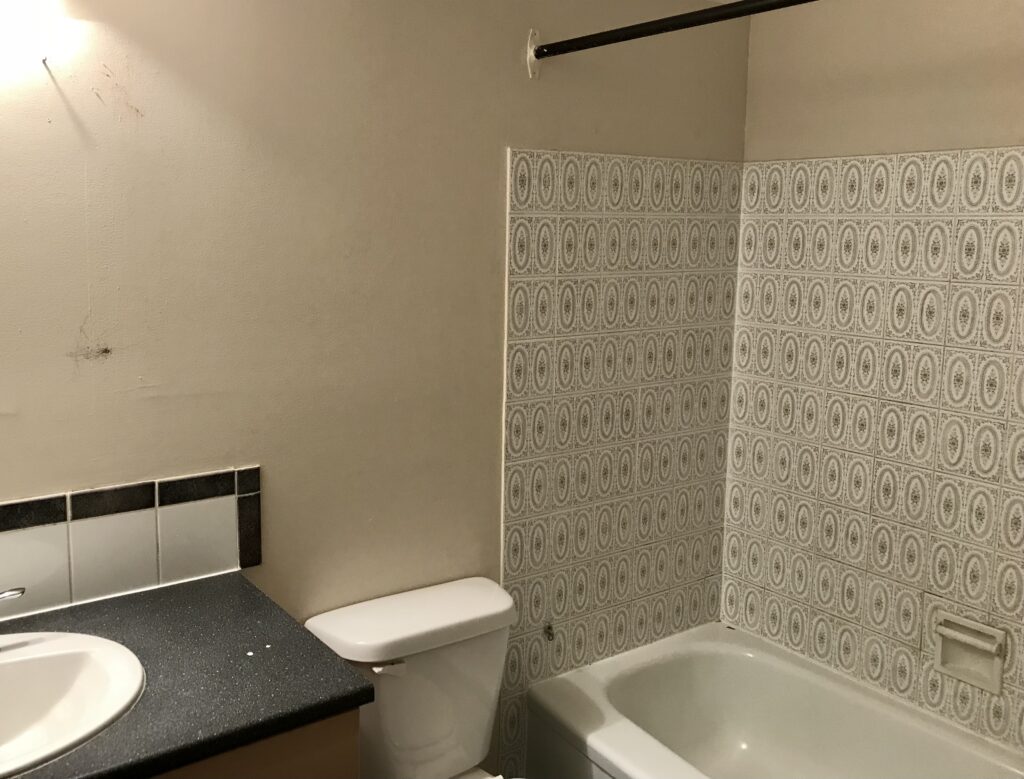
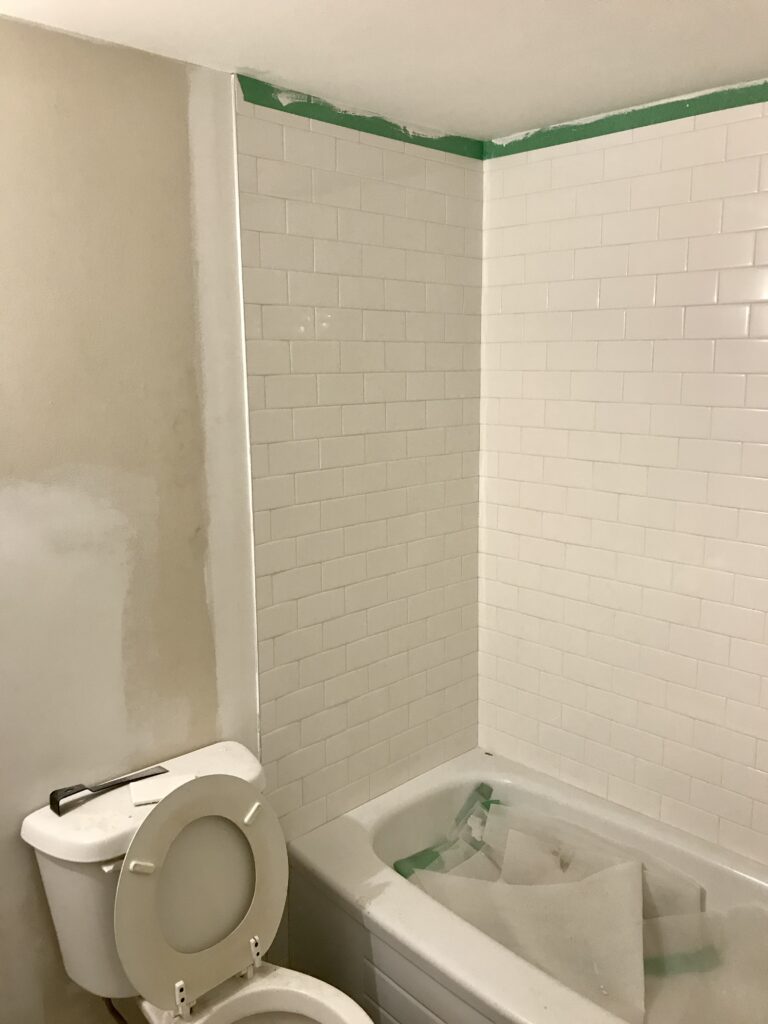
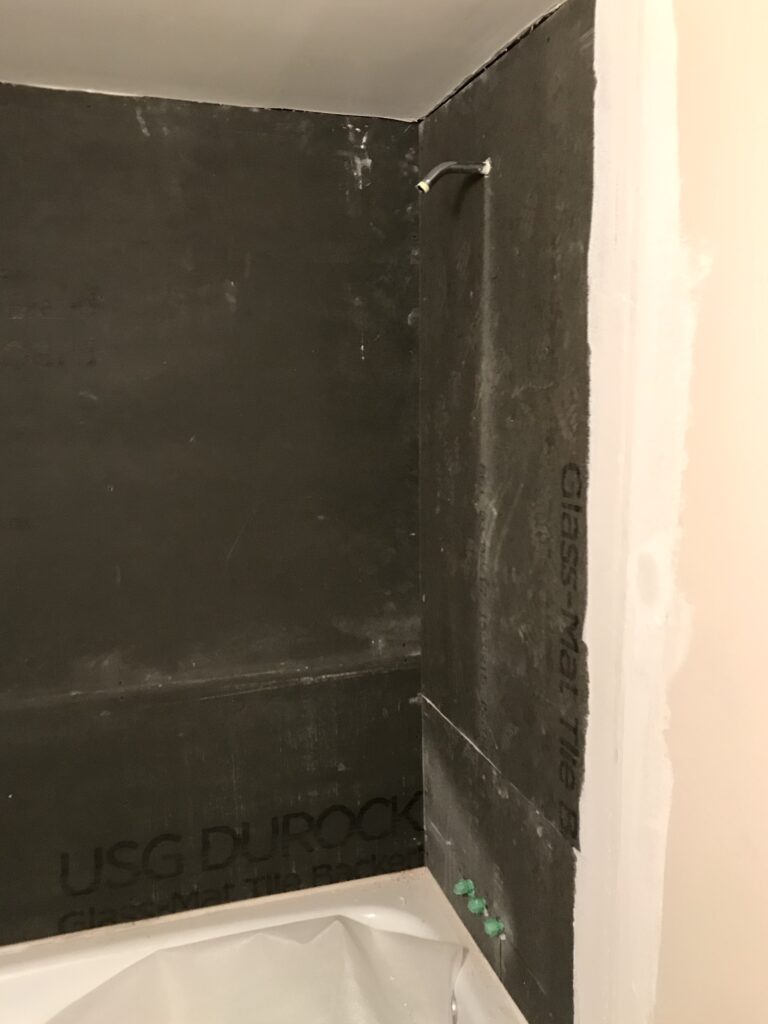
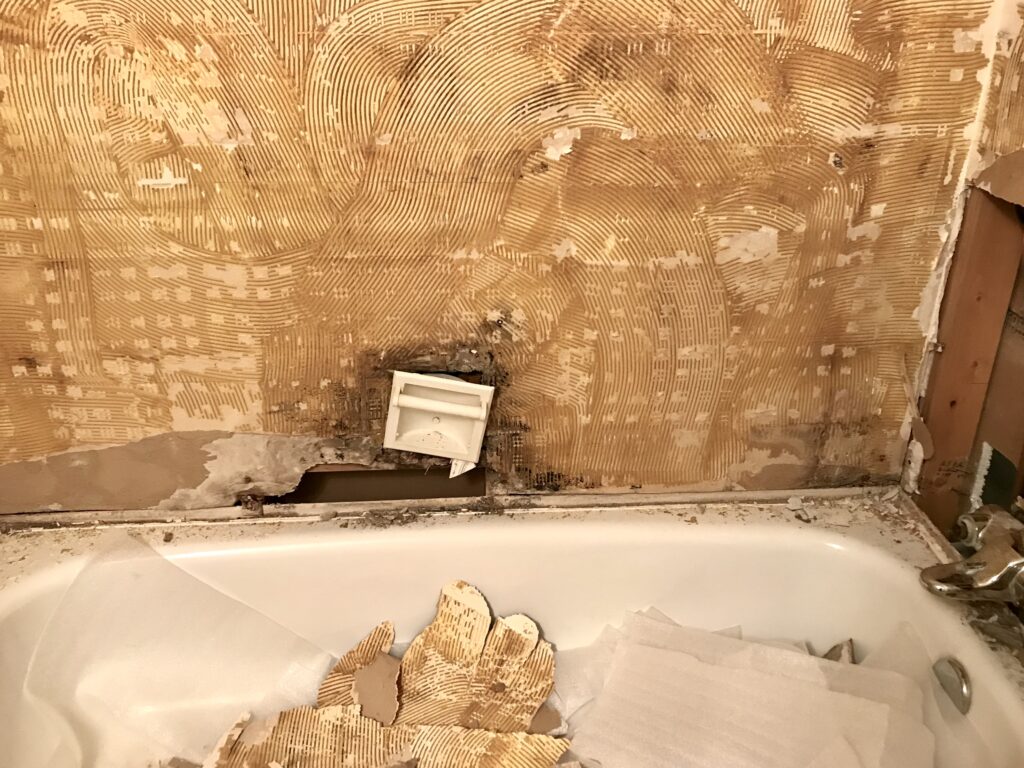
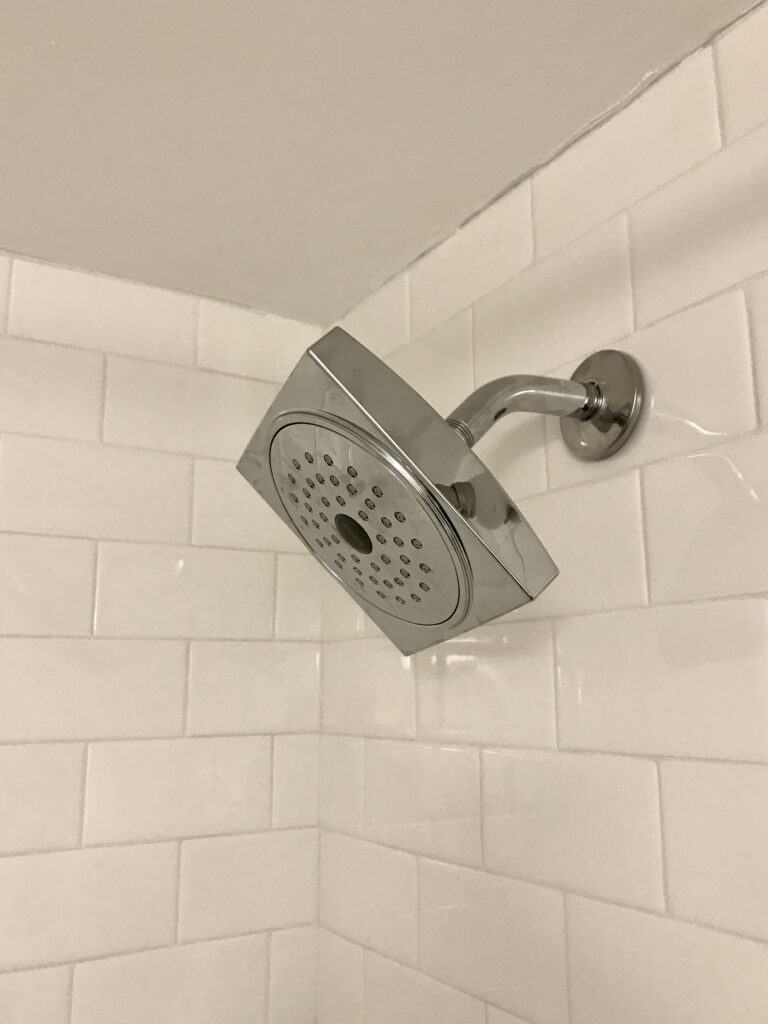
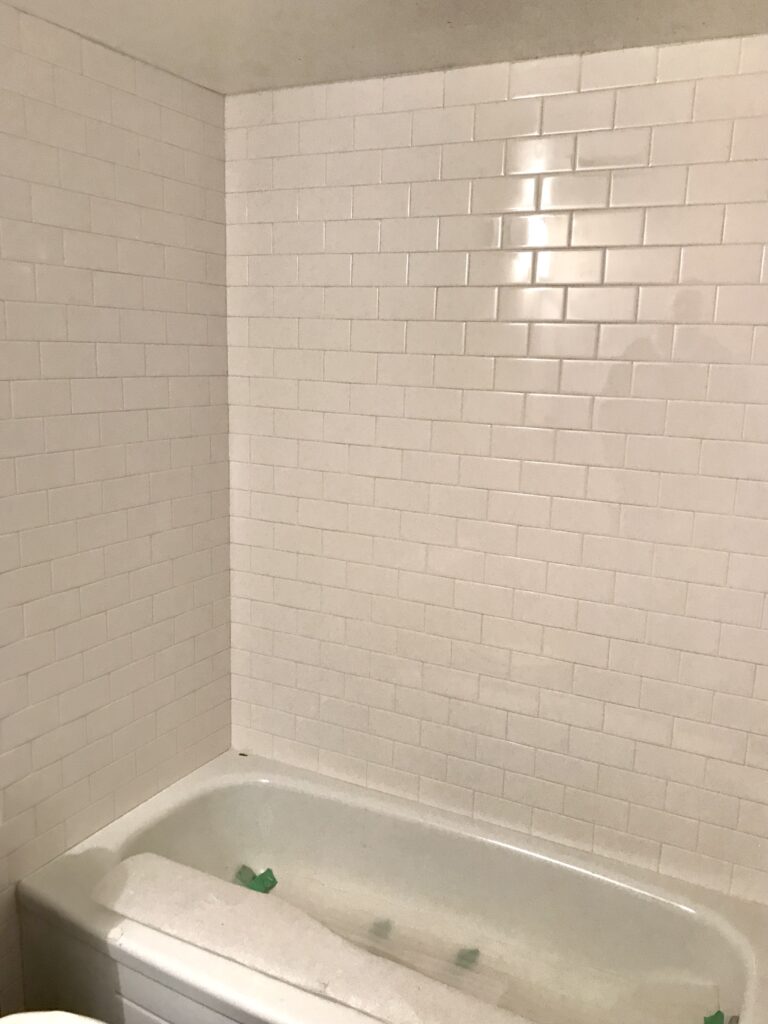
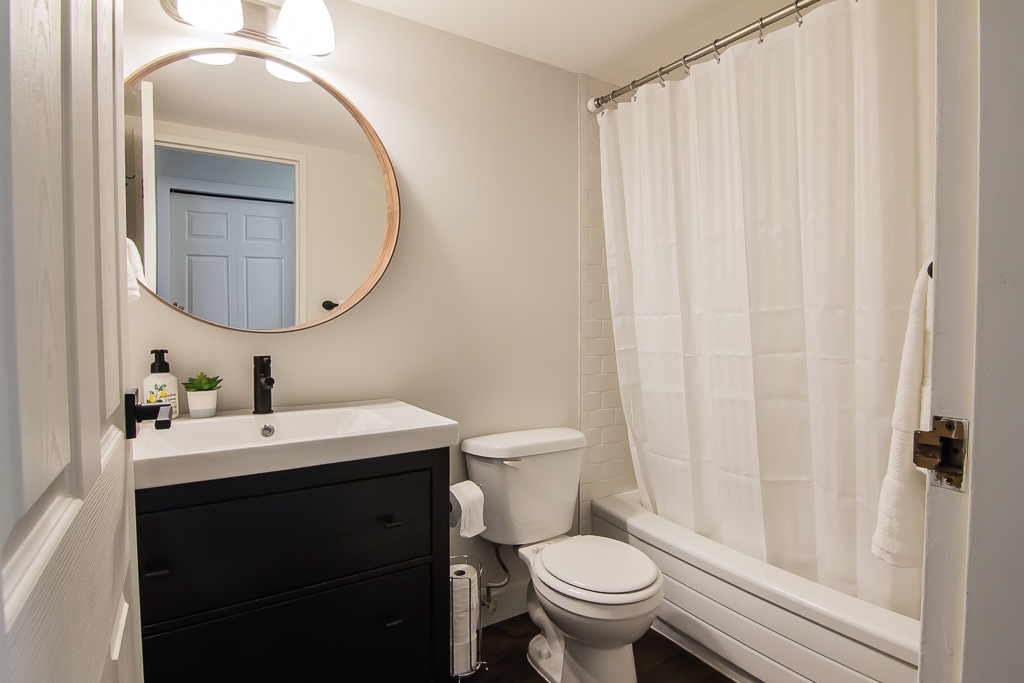
I hate to say it but the OG bathroom shower tile was… well… ugly. Sorry not sorry?! To stay consistent with the kitchen, and because we love it, we went with the same white subway tile around the tub and tiled up to the ceiling! White subway is also as timeless as you can go when it comes to tile. When we ripped out the old tile we found more mold, so again, obviously we remediated it. Because we found mold, we installed a new moisture barrier and replaced the drywall under the new tile. We also removed the dated (and icky) soap holder, and installed a new chrome trim kit, replacing the shower head and bathtub faucet. However the actual bathtub (like the cabinets!) was still in great shape, so there was no reason to replace it.

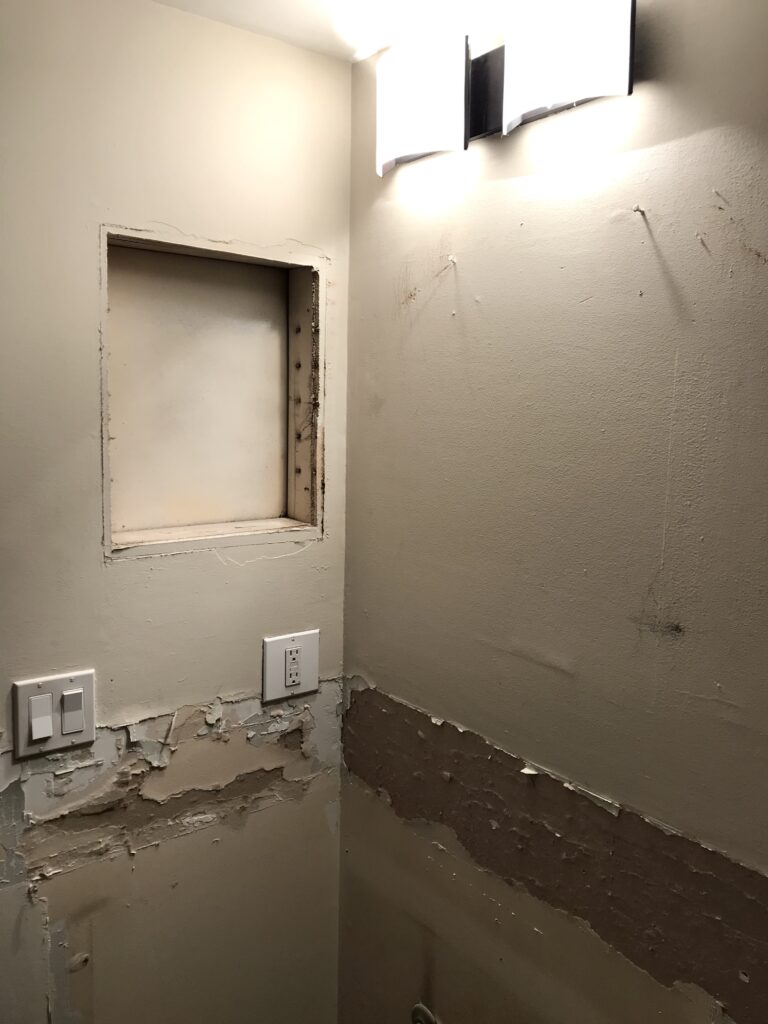
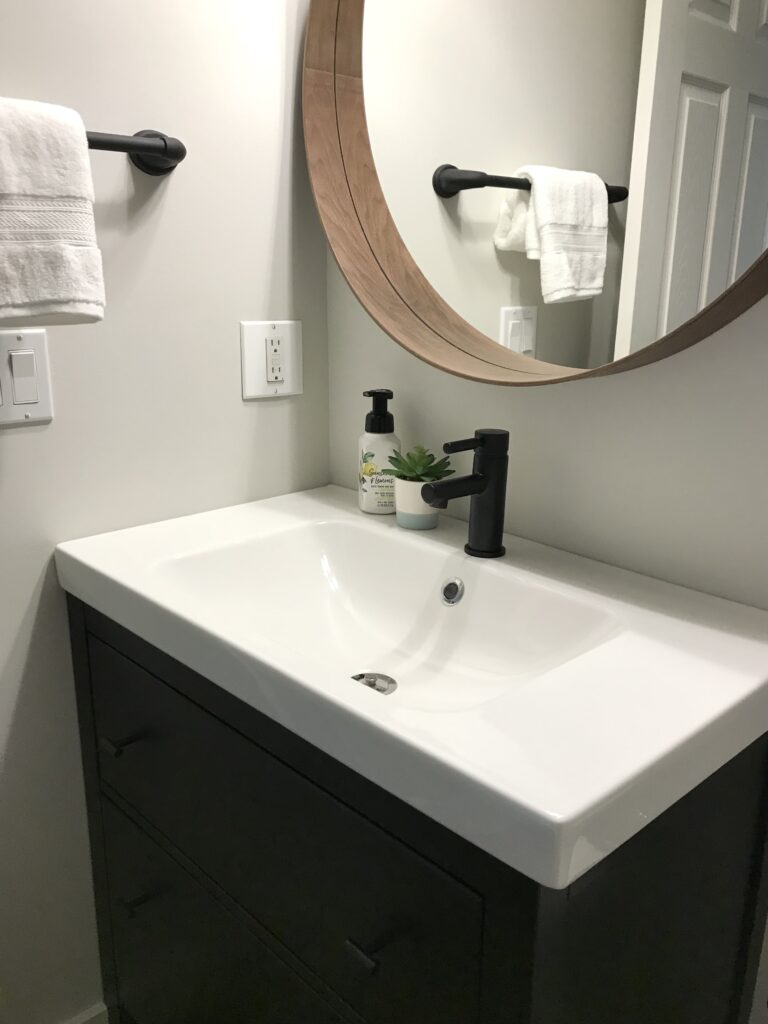
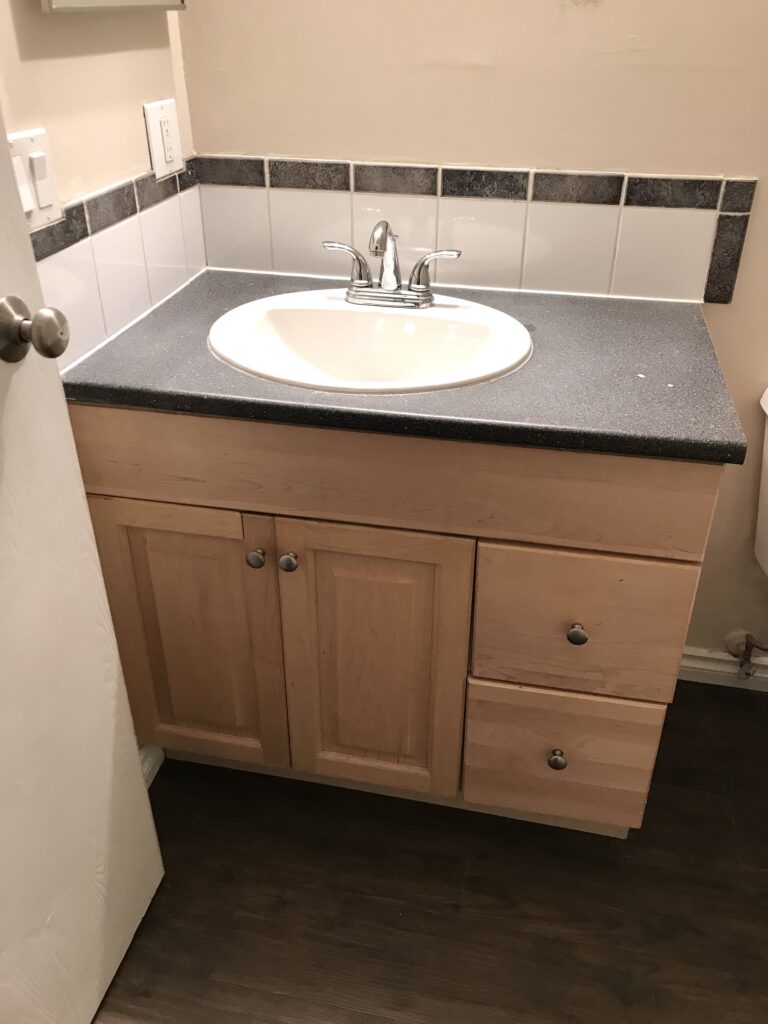
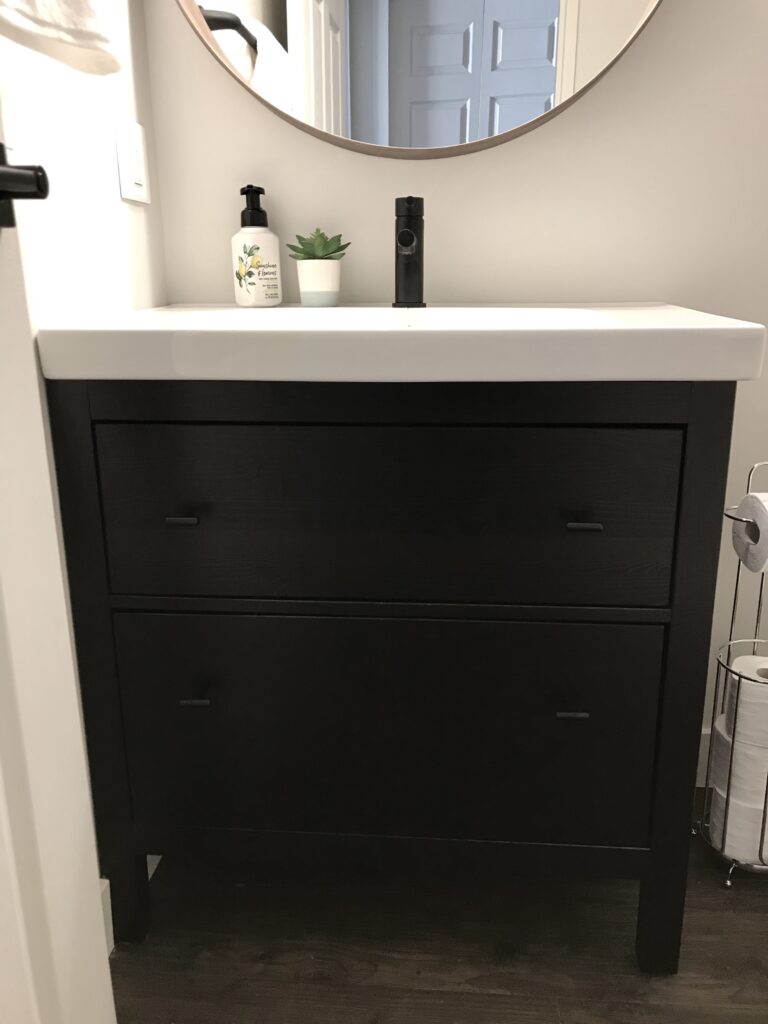
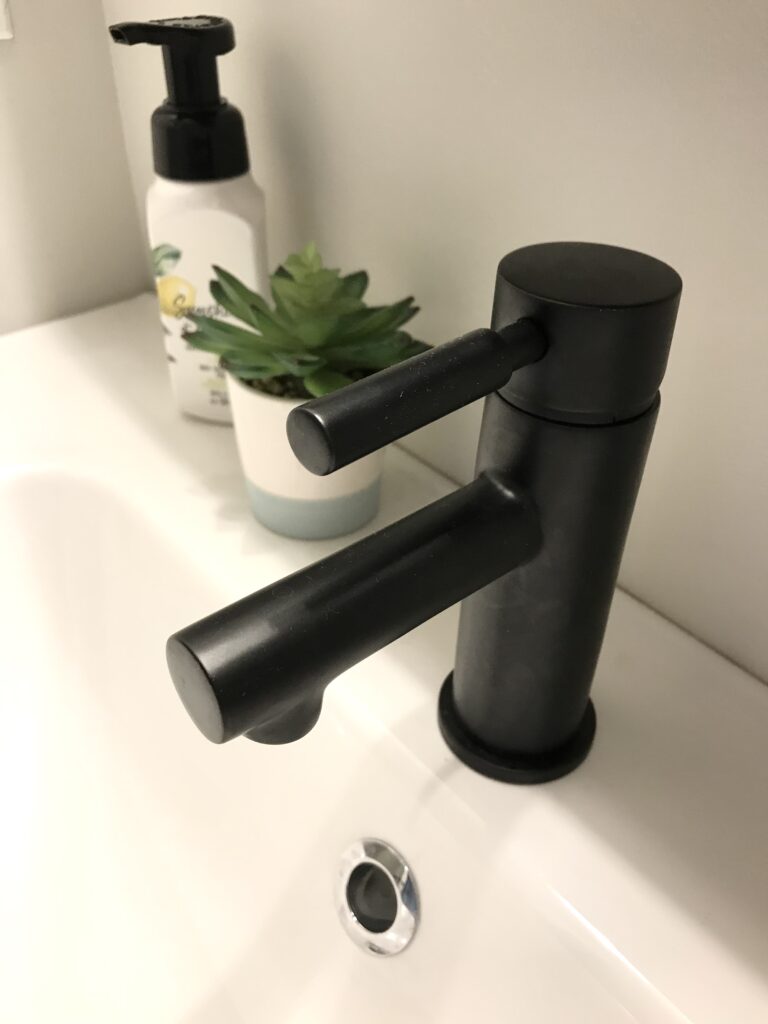
The other bathroom changes were simple and inexpensive but really made the bathroom feel refreshed and modern. An impactful swap was the vanity, we used the Ikea Hemnes (sadly no longer available in black) but added our own cabinet pulls, the matching knob from the Richelieu Washington Collection Modern Cabinet T Knob in, you guessed it: matte black! The Hemnes has the sink already installed but doesn’t come with a faucet, so we went with this one from Delta that matched the new black kitchen faucet! We took out the medicine cabinet, added two of these matching Moen Genta black towel racks, replaced the mirror with the Ikea Stockholm mirror and of course updated the light fixture, the exact one we used is no longer available, but this one from HomeDepot is very similar!
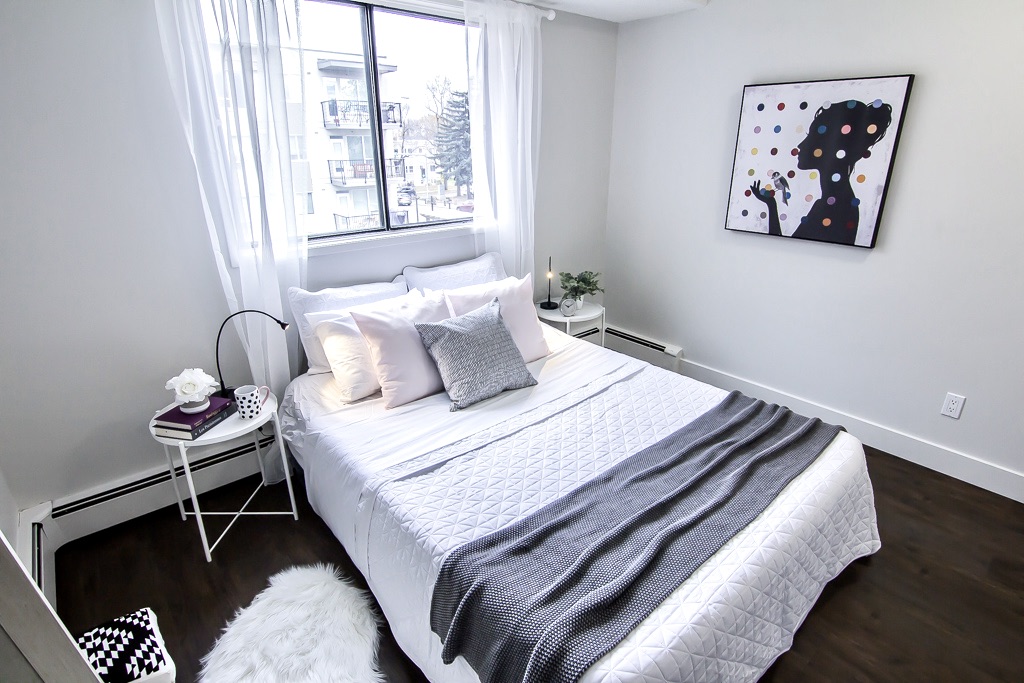
Bedroom.
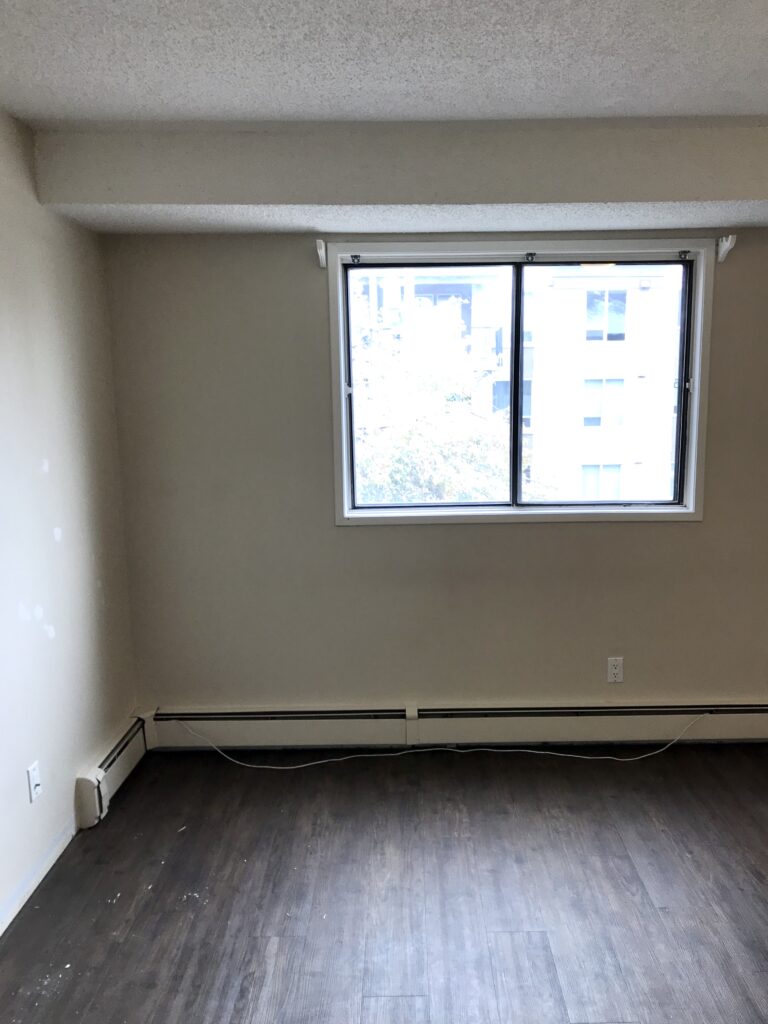
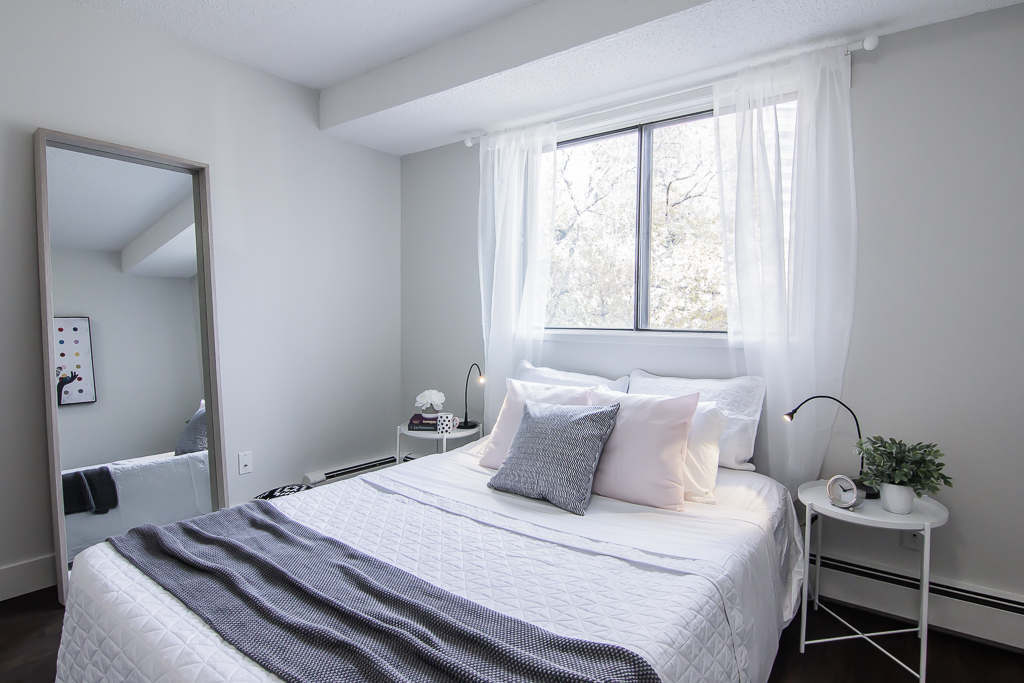
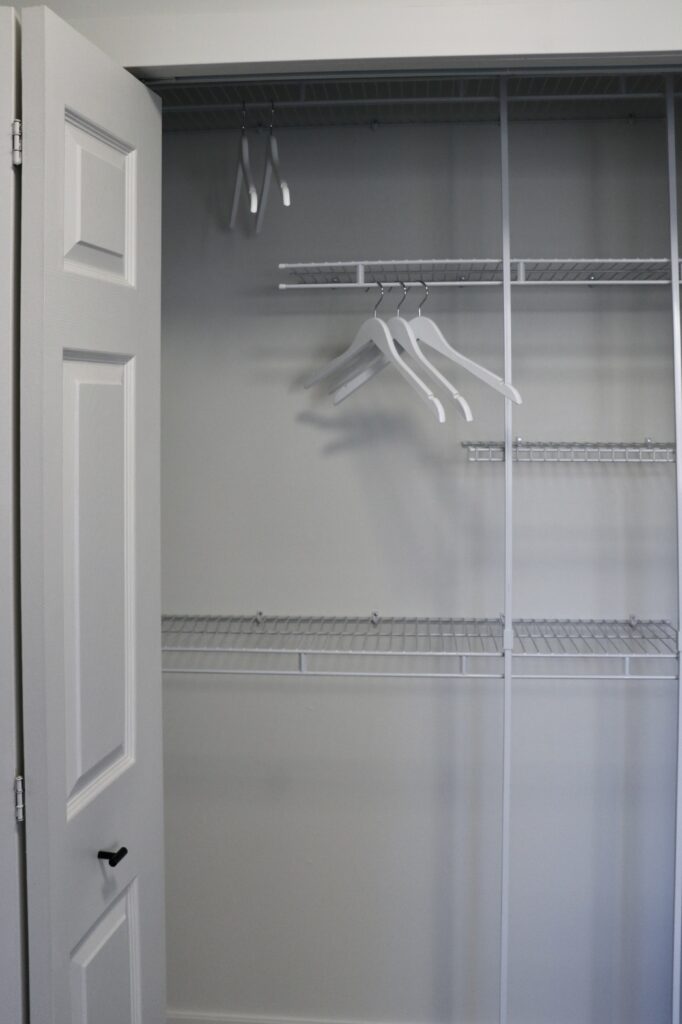
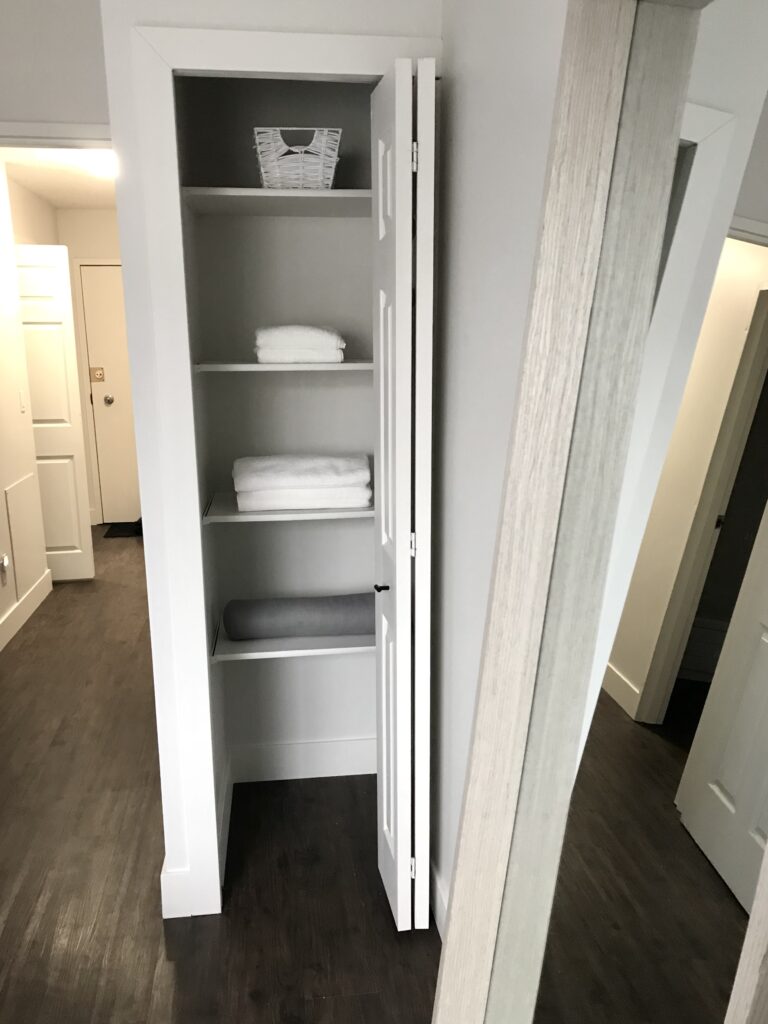
The bedroom changes we made were simple but impactful; fresh white paint, a new white curtain rod (that stayed in the unit!), and we patched all the holes in the walls. The biggest change was adding a closet organizer to the big closet, and removing the single rod in the smaller closet and installing wood shelves to create a linen closet!
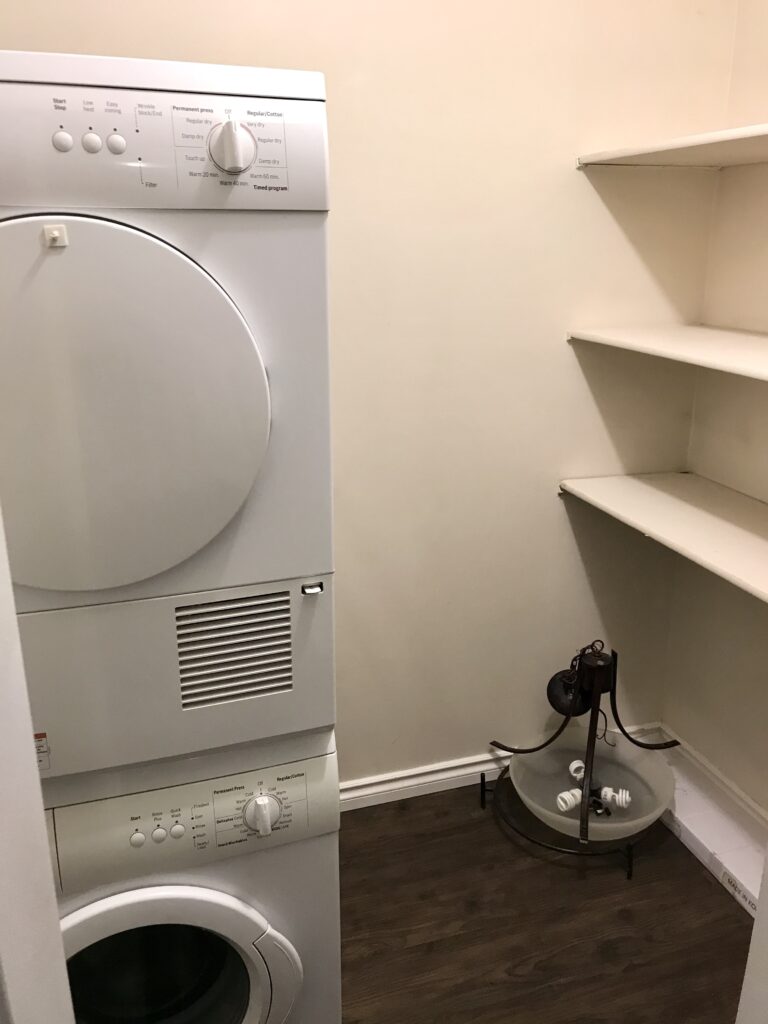
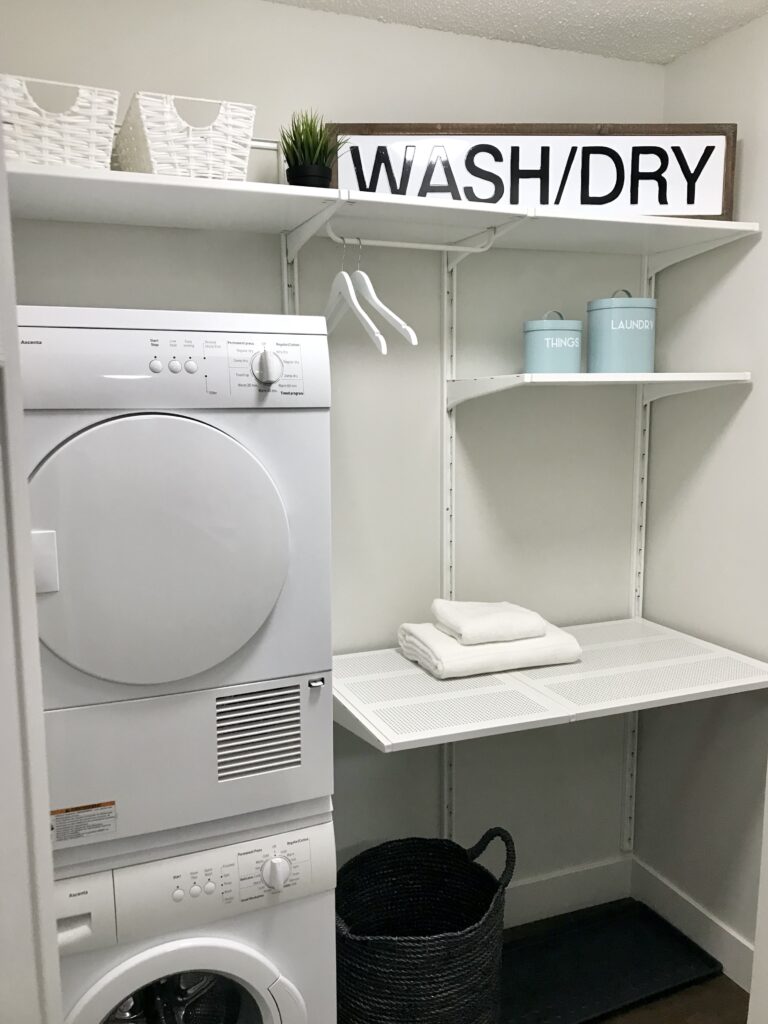
Laundry.
The stacking washer and dryer had been updated right before we bought the condo, so we knew they could stay, which was great. Again, the new white paint made the room feel so fresh and clean which is ideal for a laundry room! We removed the original, awkward wood shelving and installed a new Ikea Boaxel shelving system (it was called the Algot when we installed it!) that made the room way more functional, and feel like one cohesive laundry space instead of a stacker stuck in a closet.
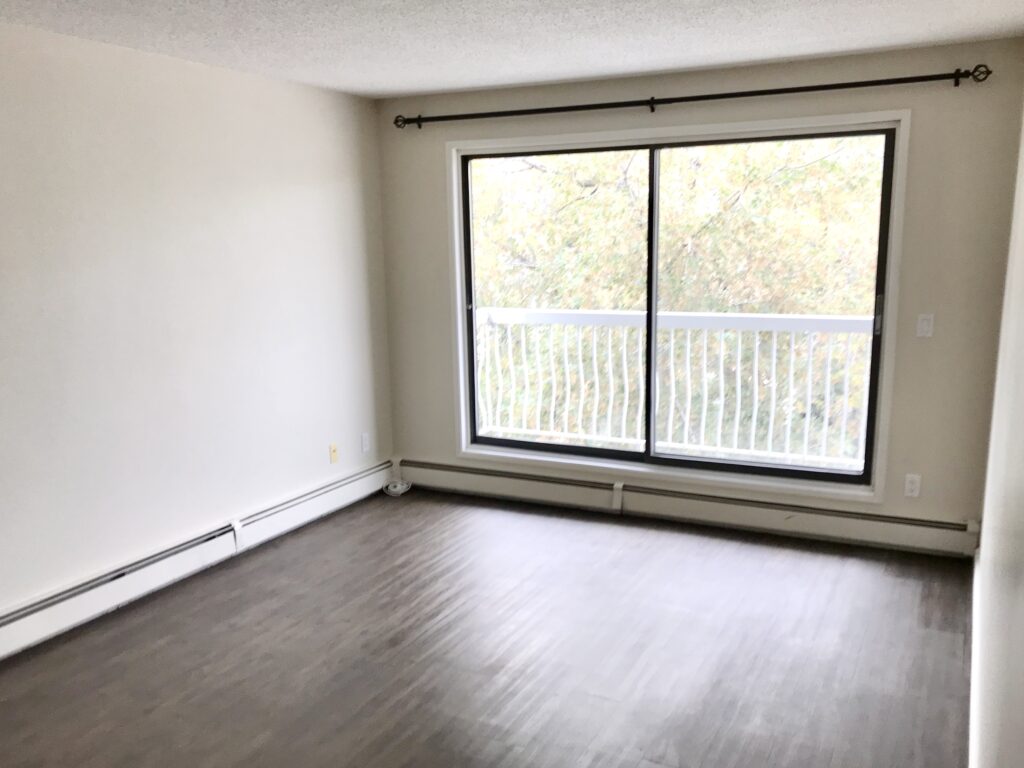
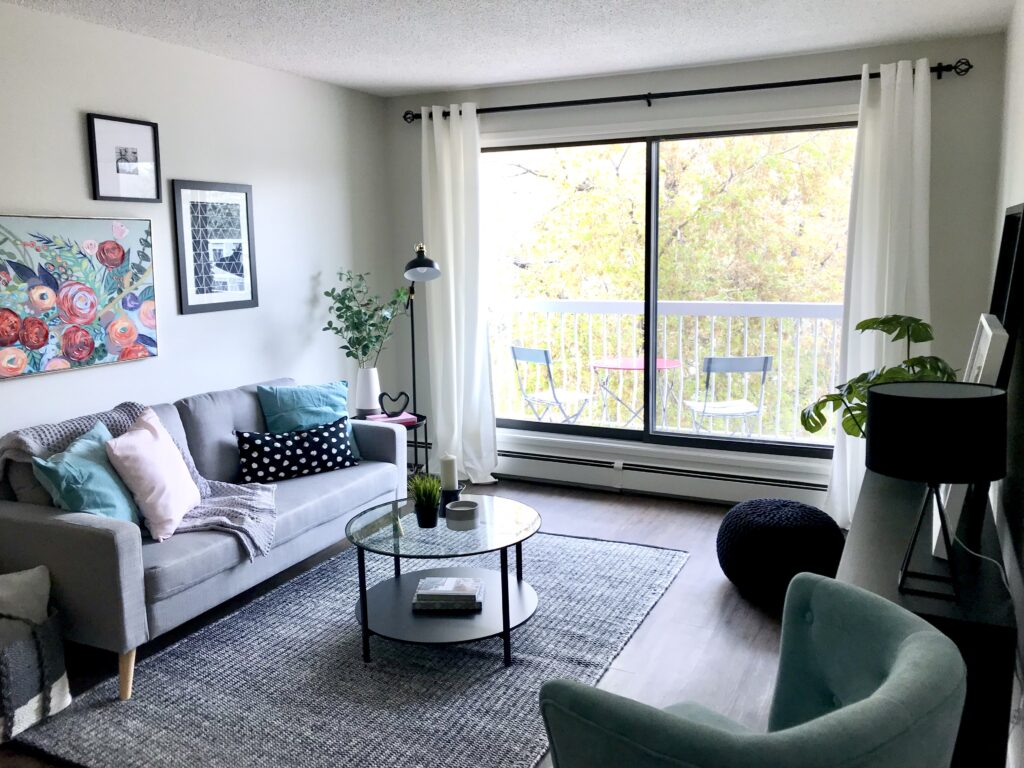
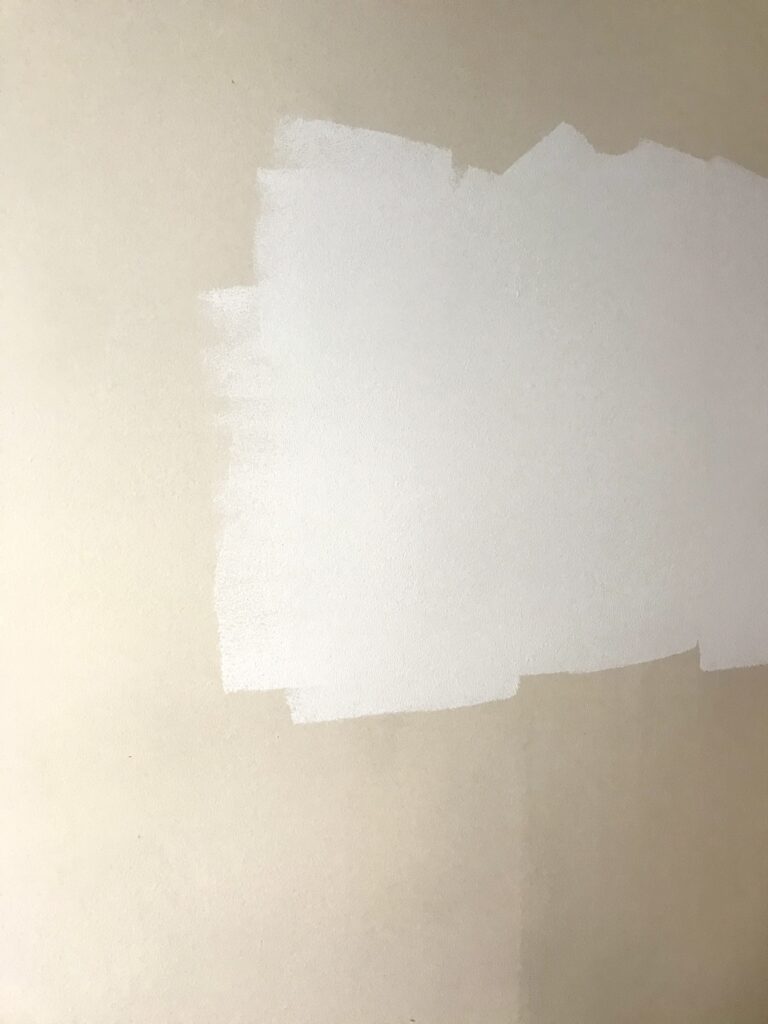
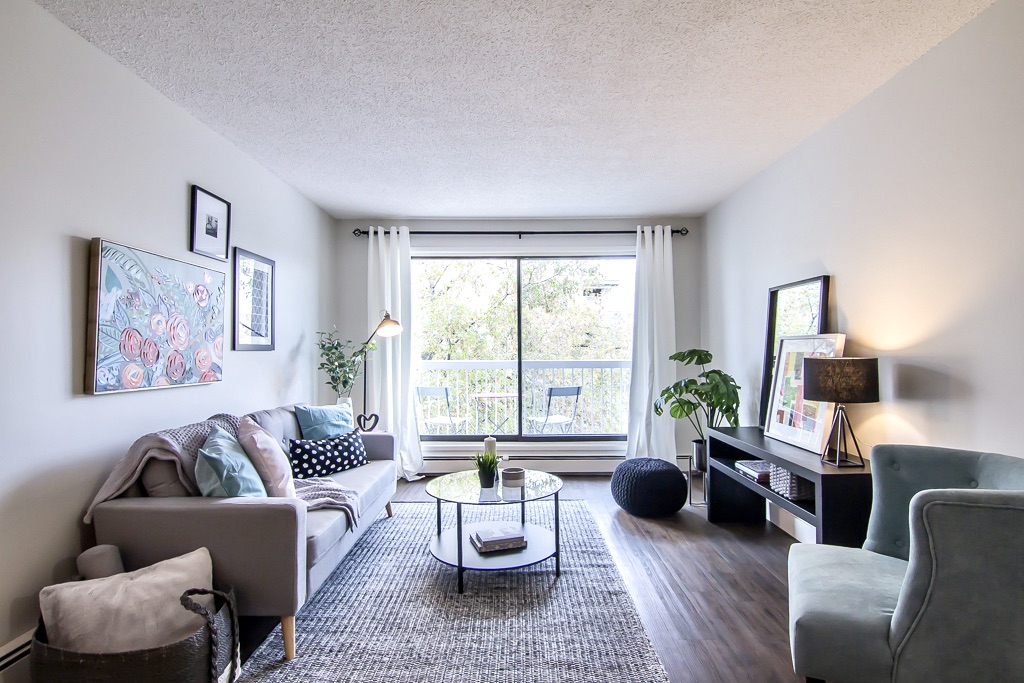
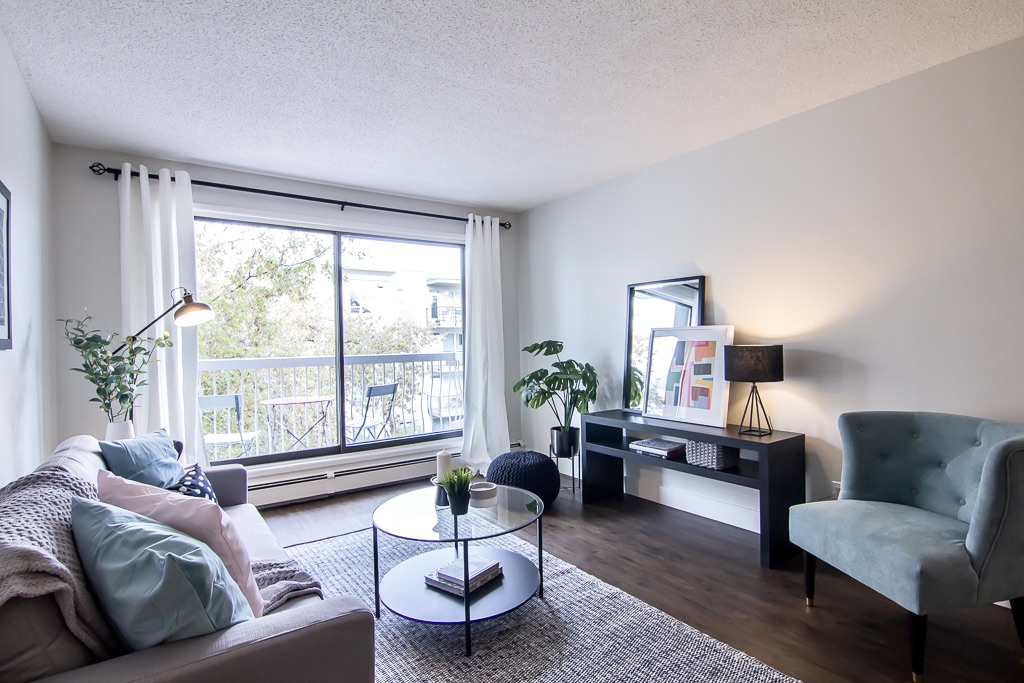
Living Room/Overall.
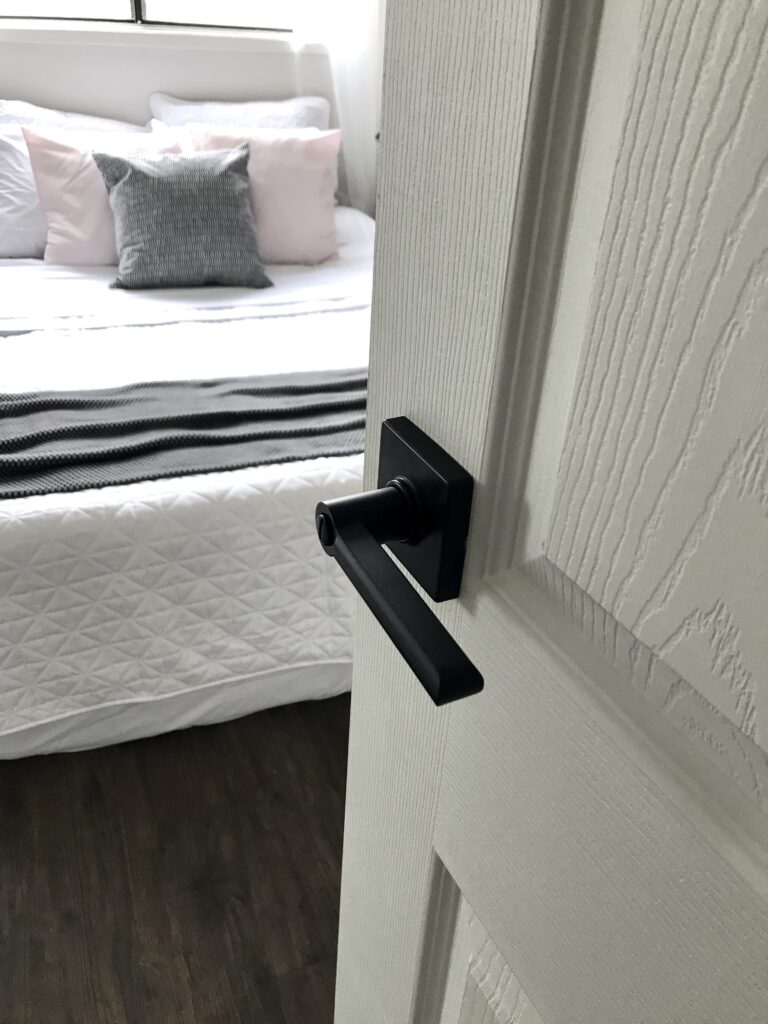
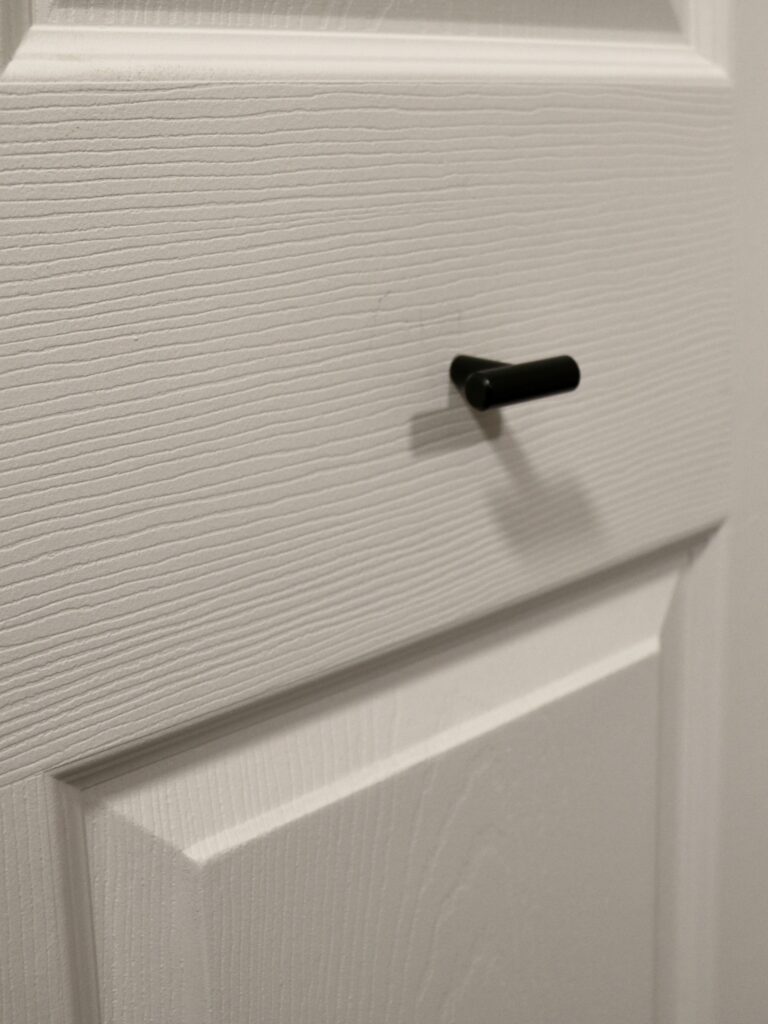
As you can see in the photo below, the original paint colour was a cream/tan which felt tired and dated. I know I’ve said it already, but re-painting the whole unit white (we used ‘Crystal White’ from Dulux Paint but this specific colour is no longer available) truly gave it a new life, and made it feel clean, fresh and new. None of the interior doors matched, so we changed out the bedroom, bathroom and closet doors. We used this Masonite 6 Panel Textured Interior Door and the matching Masonite 6 Panel Textured Closet Door. New doors need new door handles, and we’re big fans of the Weiser Halifax Interior Door Handle, again, in shocker, matte black!
The LVP flooring was still in good shape and we liked the colour, so we didn’t replace the floors, but we did install new baseboard and trim throughout the unit!
With all that said I am so proud to say that 3 weeks after we swung our first hammer, our little condo was back out on the town (aka up for sale) she sold in less than 24 hours and over the asking price! However, that deal fell through on the buyer’s end at the last minute, so back onto the MLS she went, where she sold again in less than 24 hours, again over asking price! The second sale did go through, and our little 99st condo became someone else’s haus. I will always be so grateful to this project, showing me that as a GC I can execute a successful flip, but also solidified for Claudia and I how much we love to flip houses and work on reno projects together!


Leave a Reply